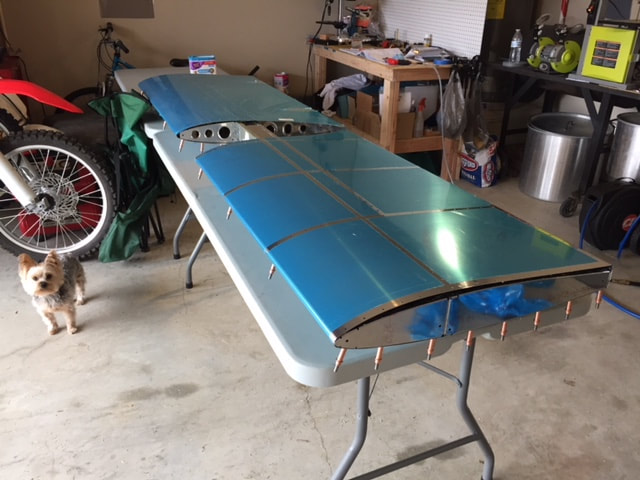
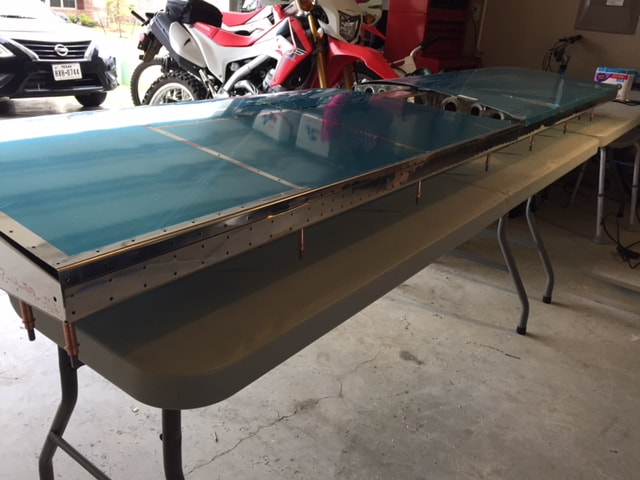
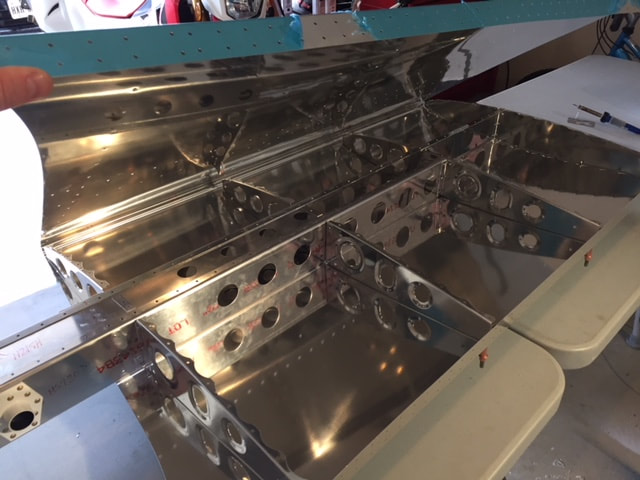
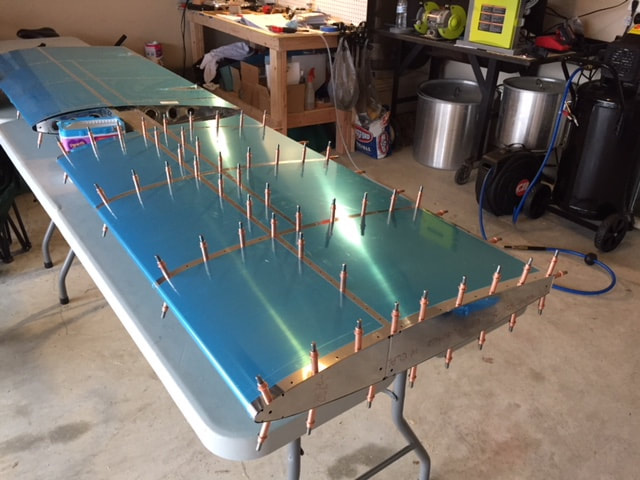
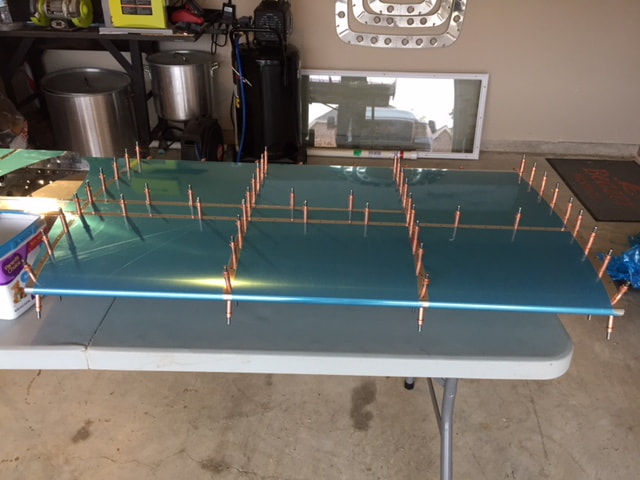
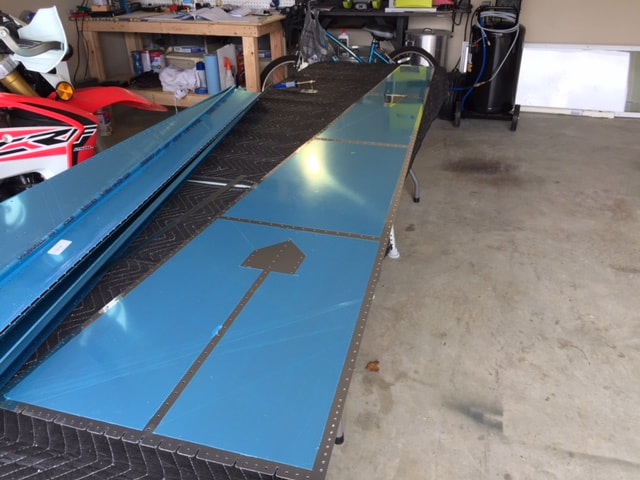
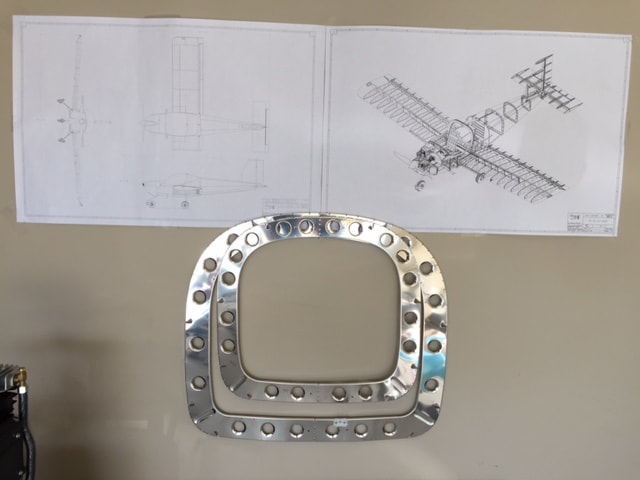
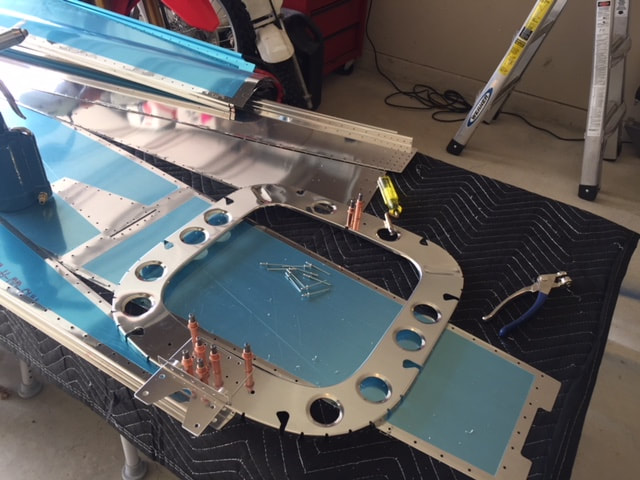
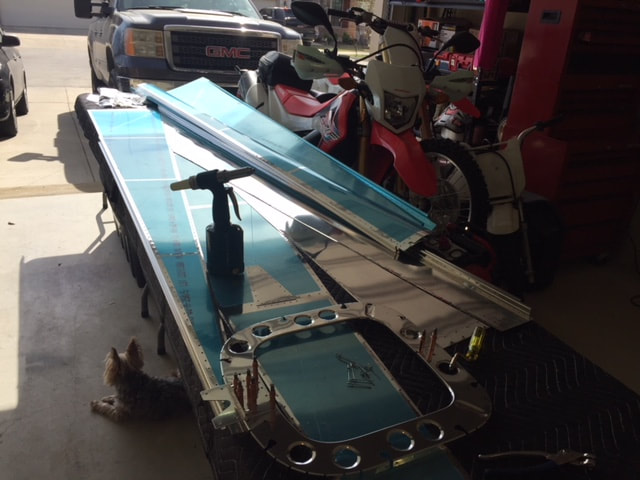
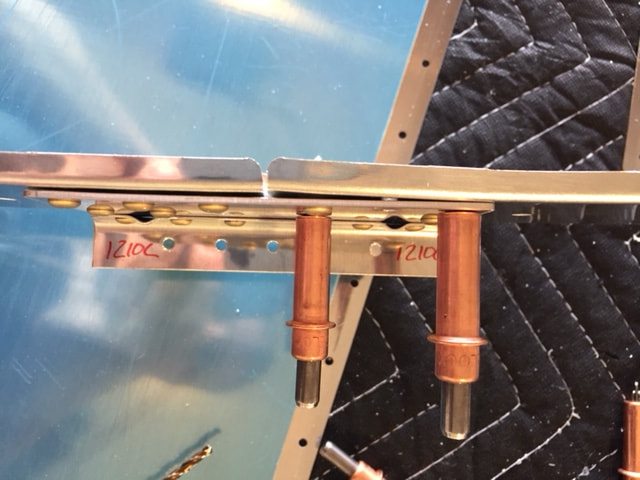
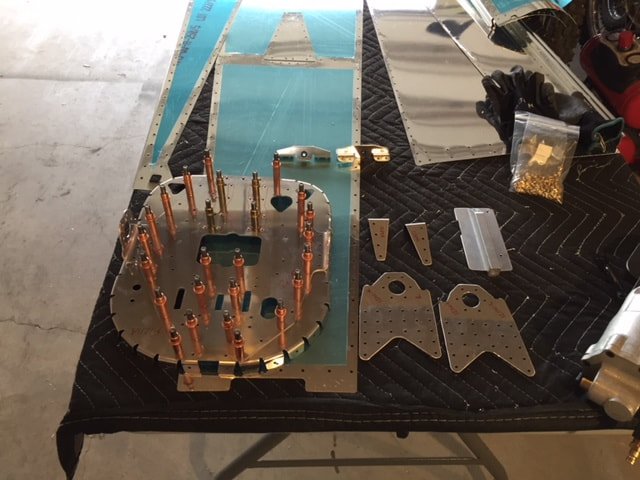
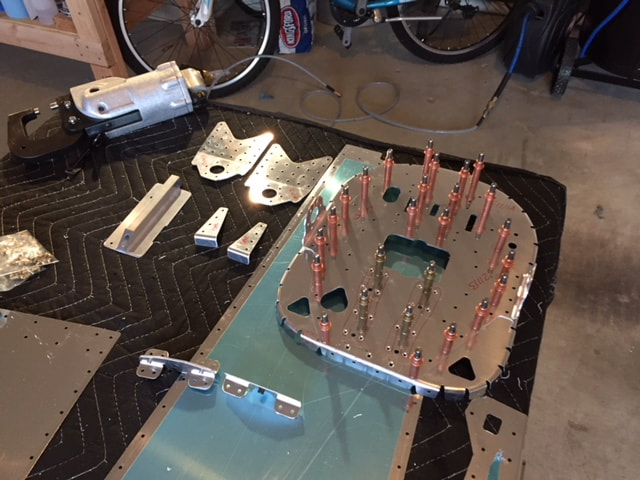
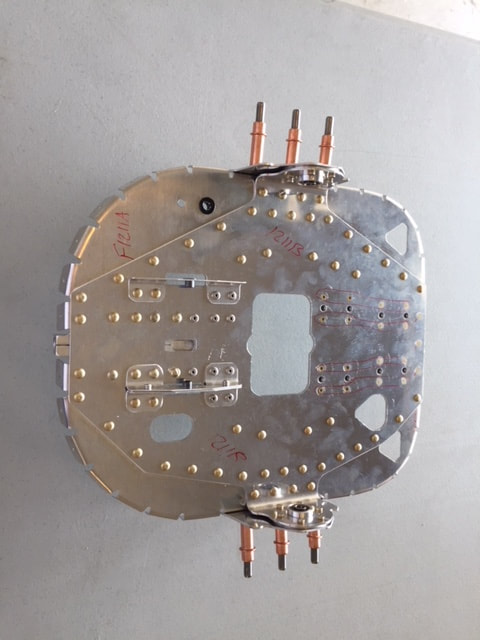
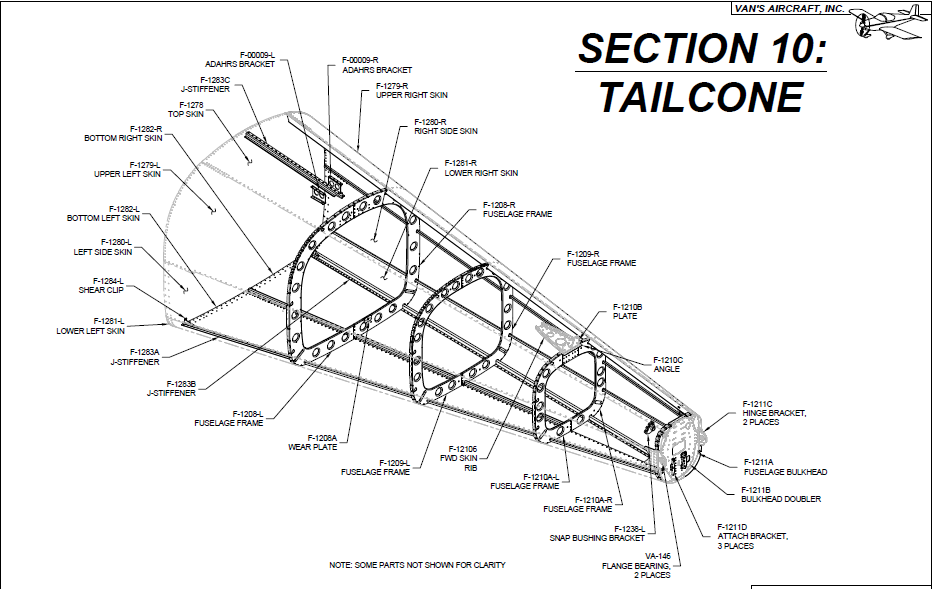
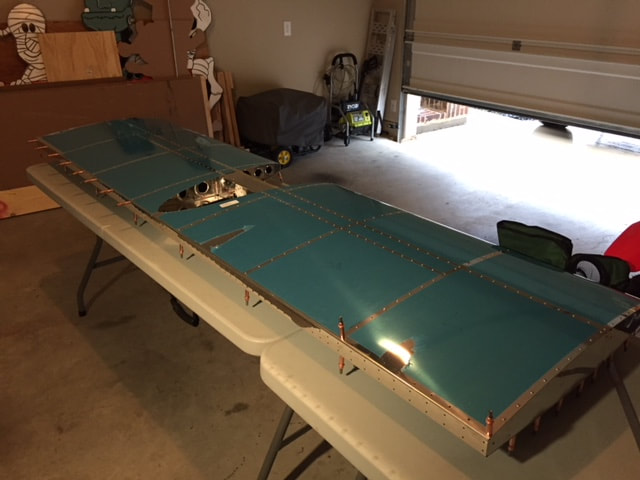
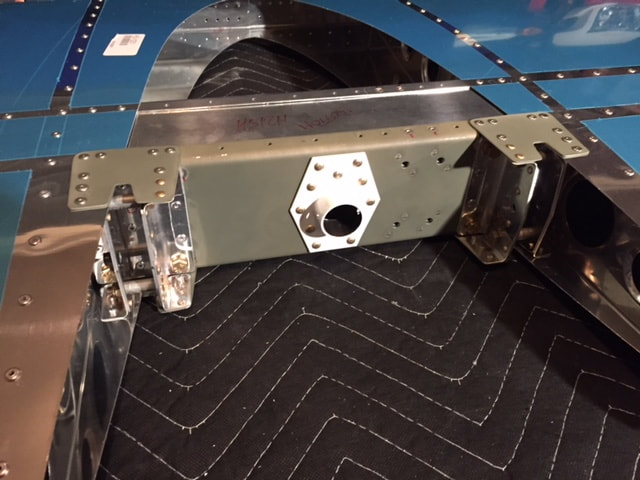
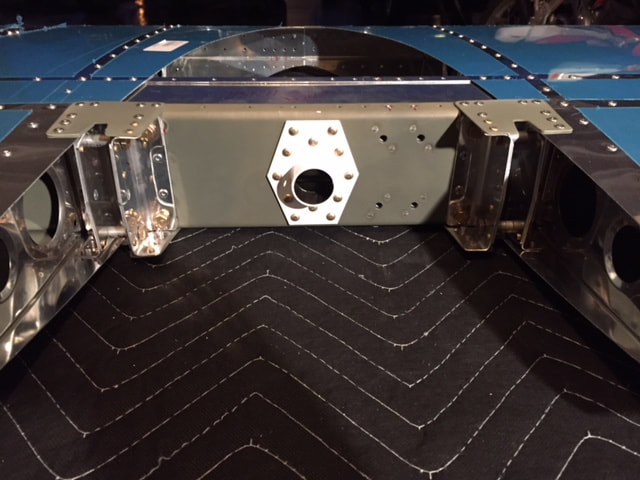
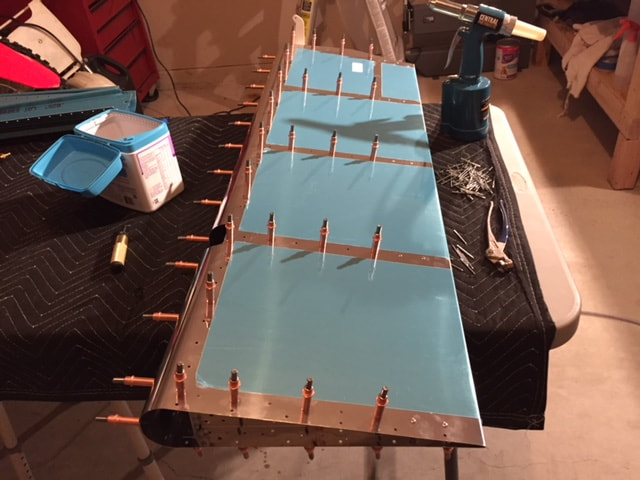
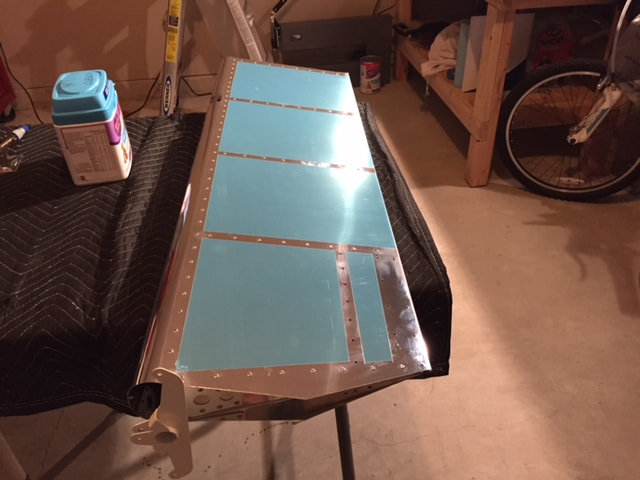
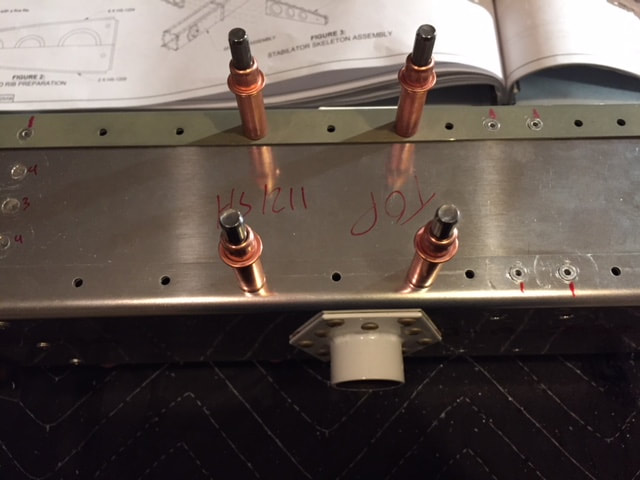
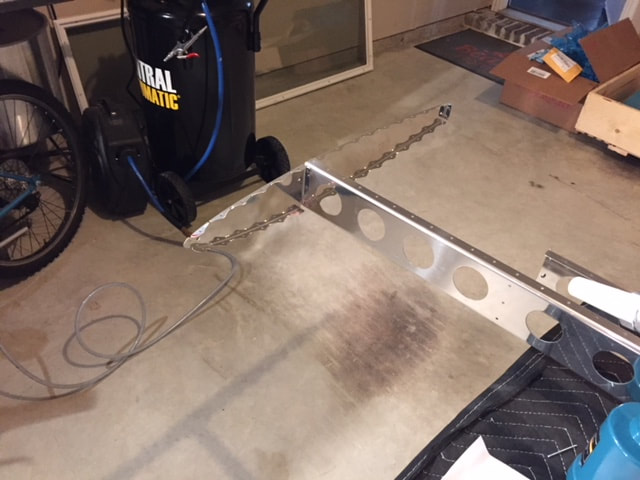
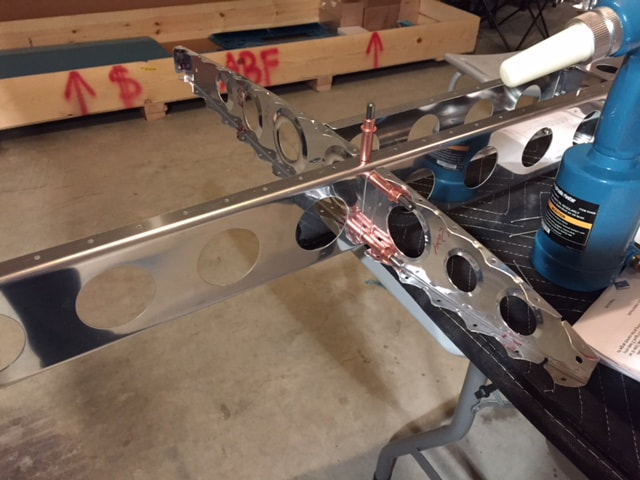
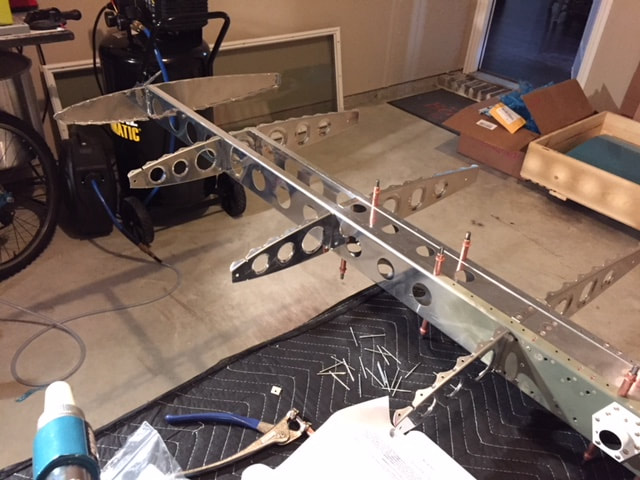
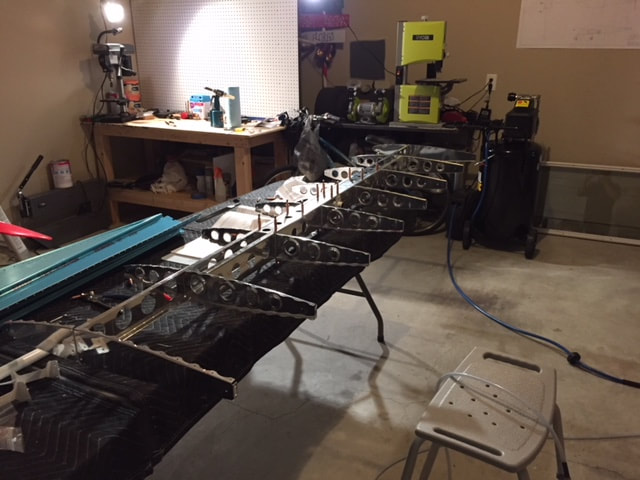
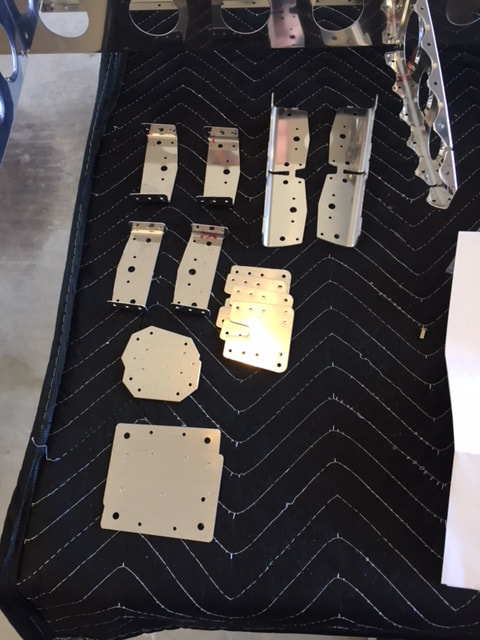
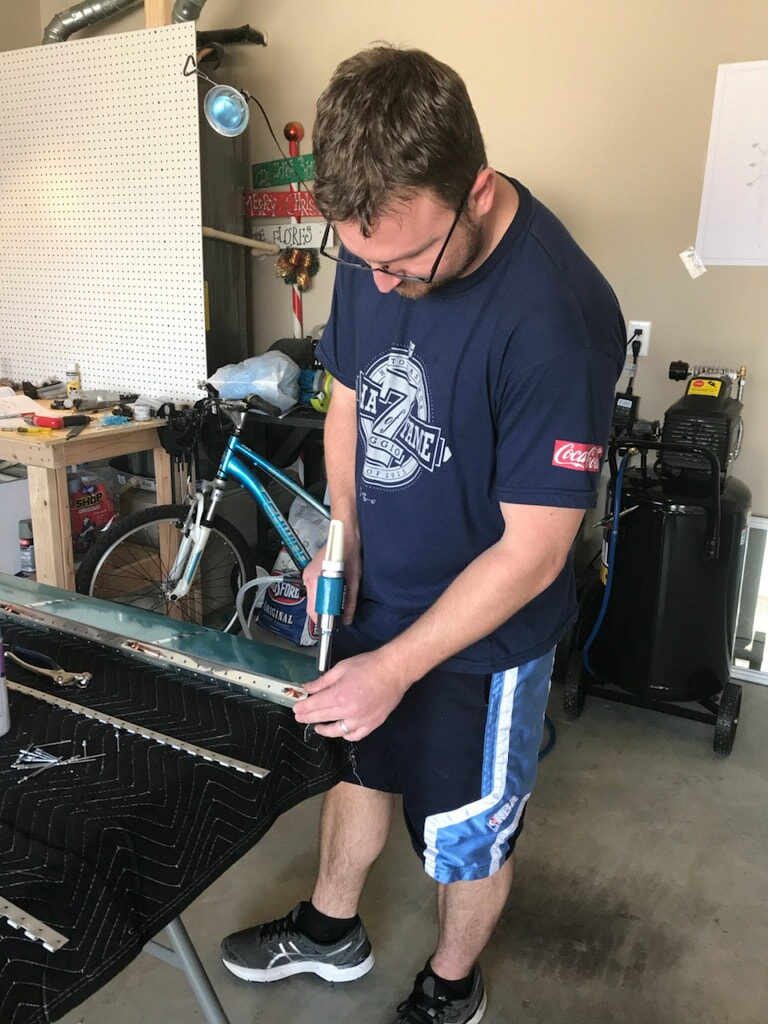
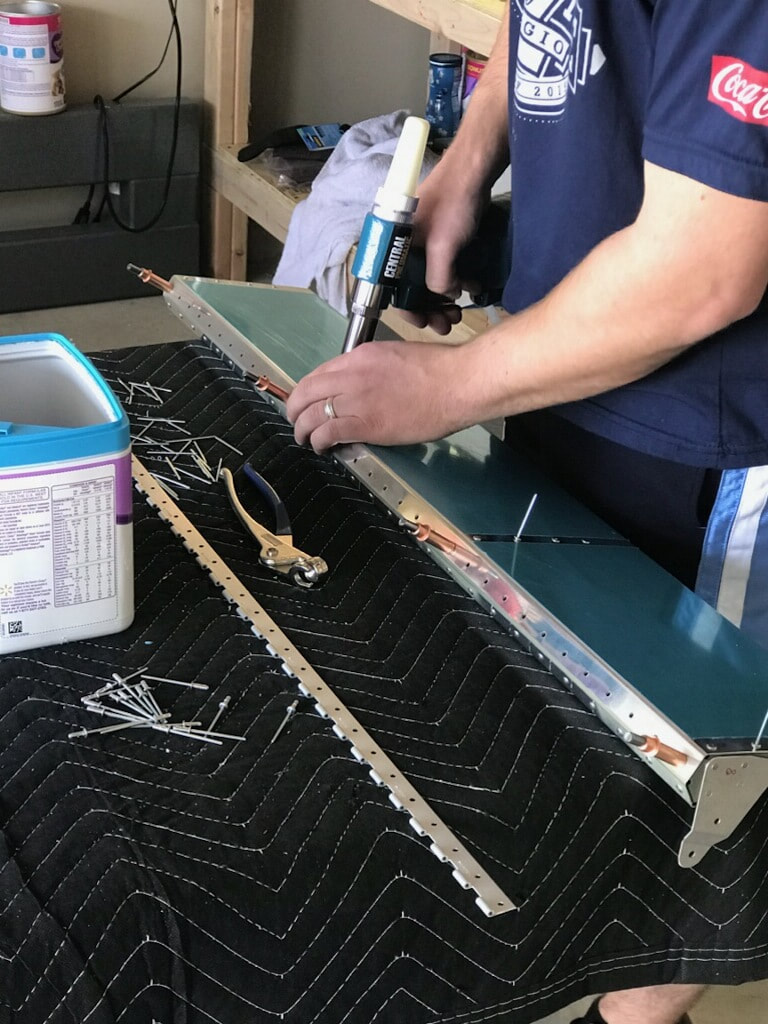
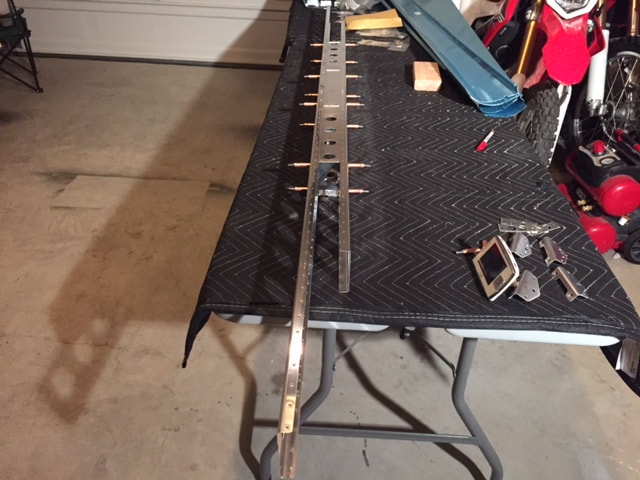
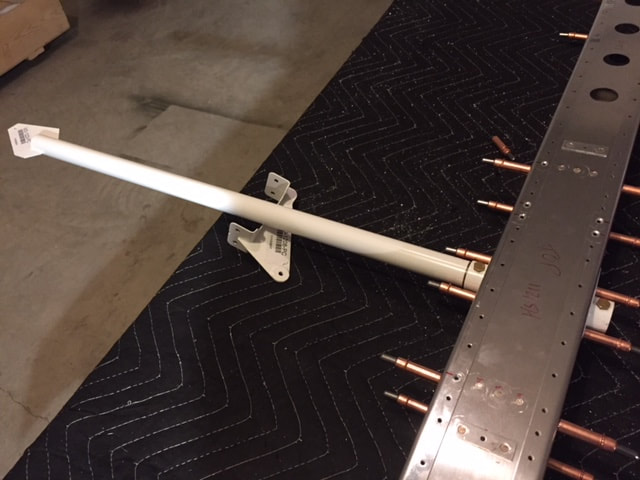
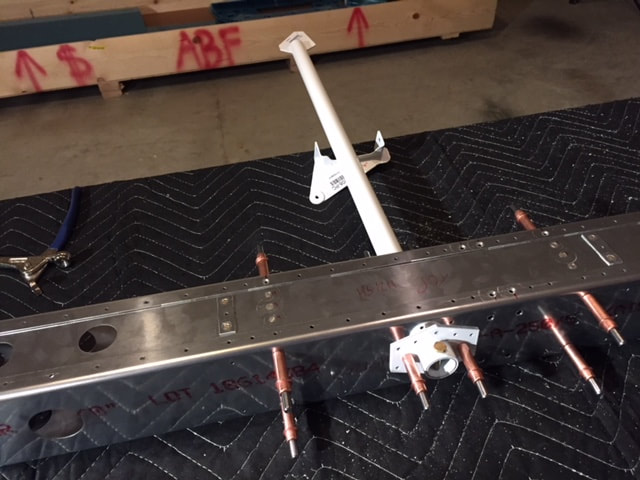
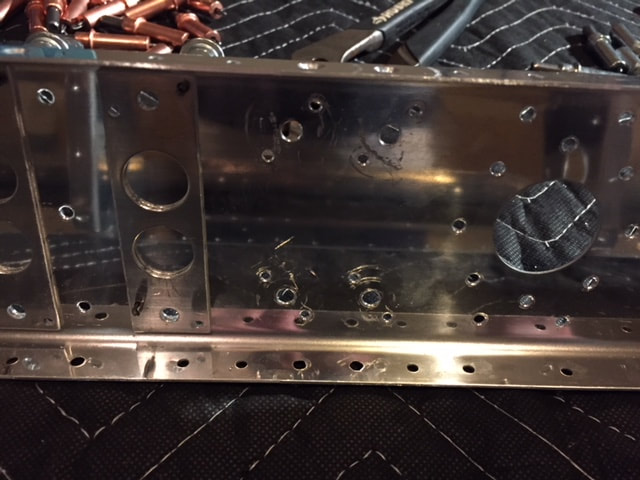
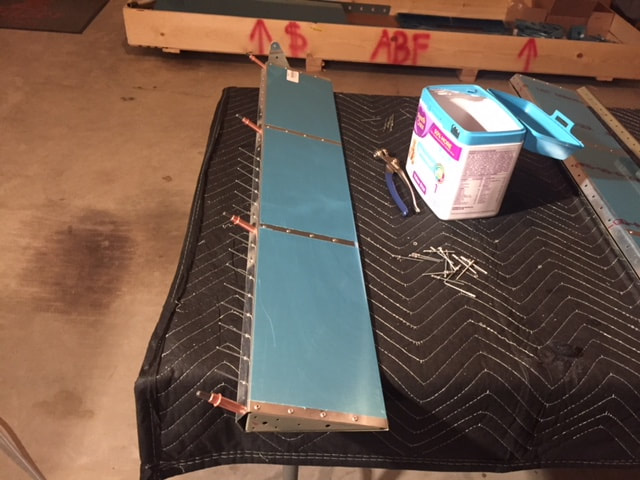
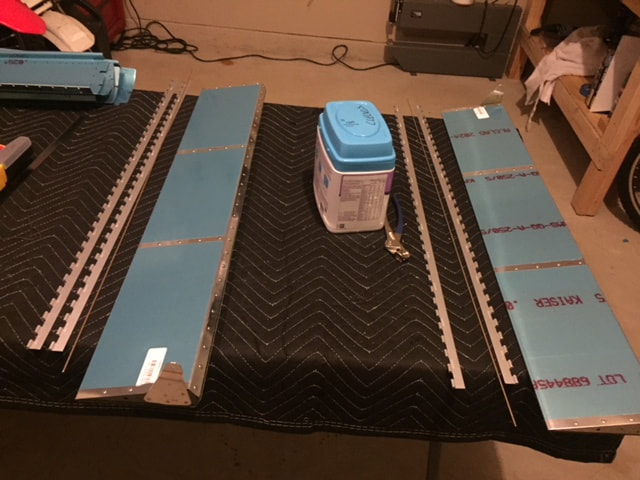
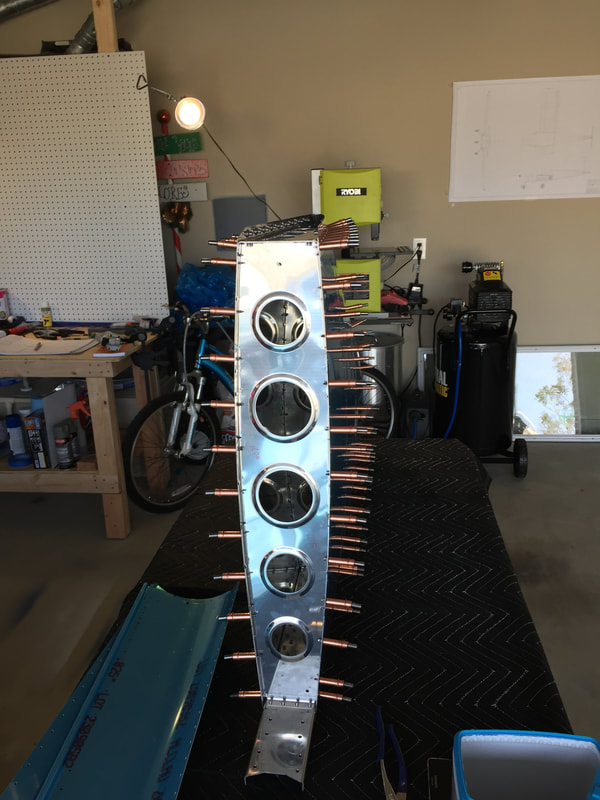
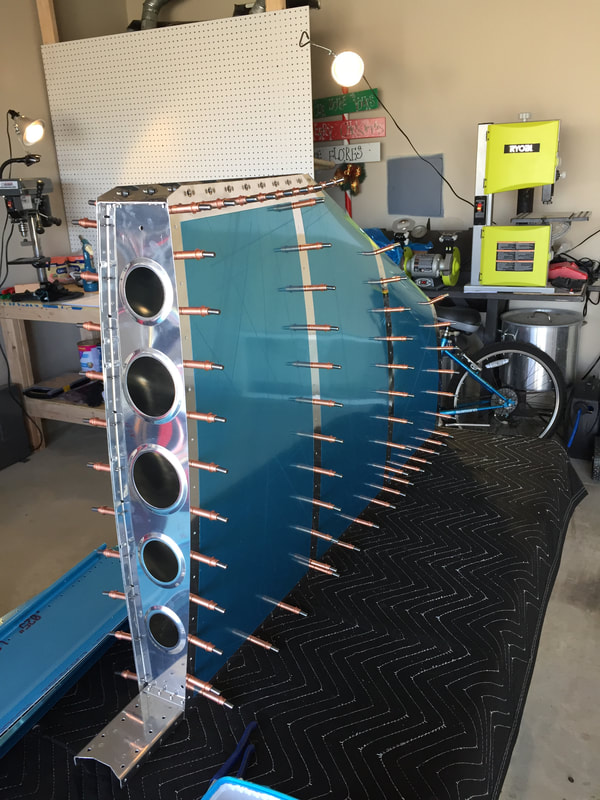
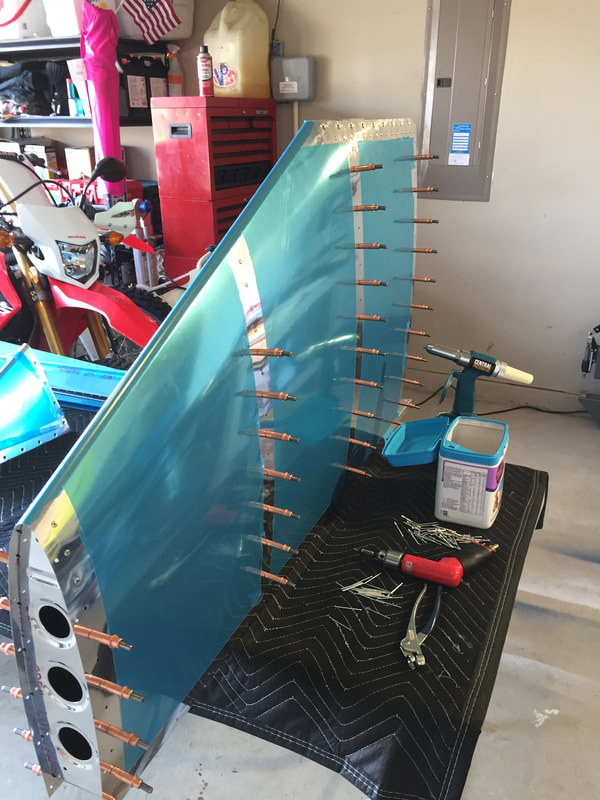
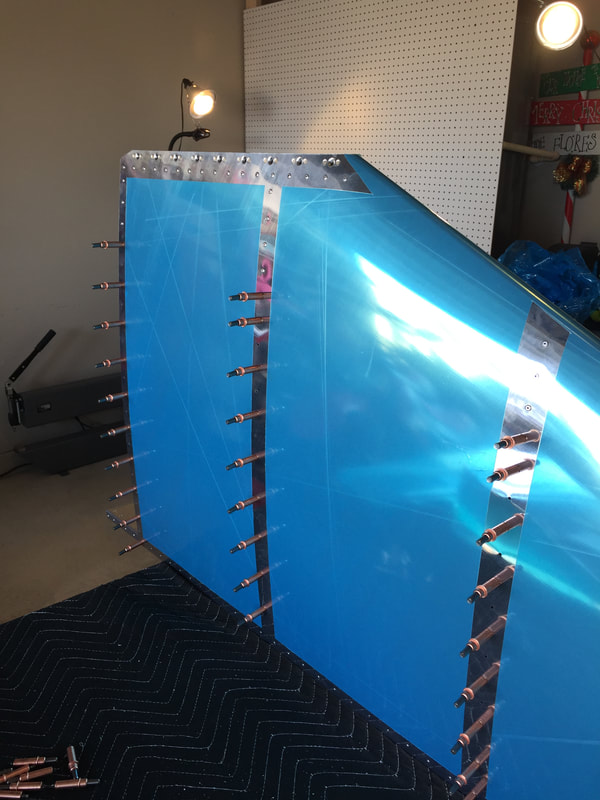
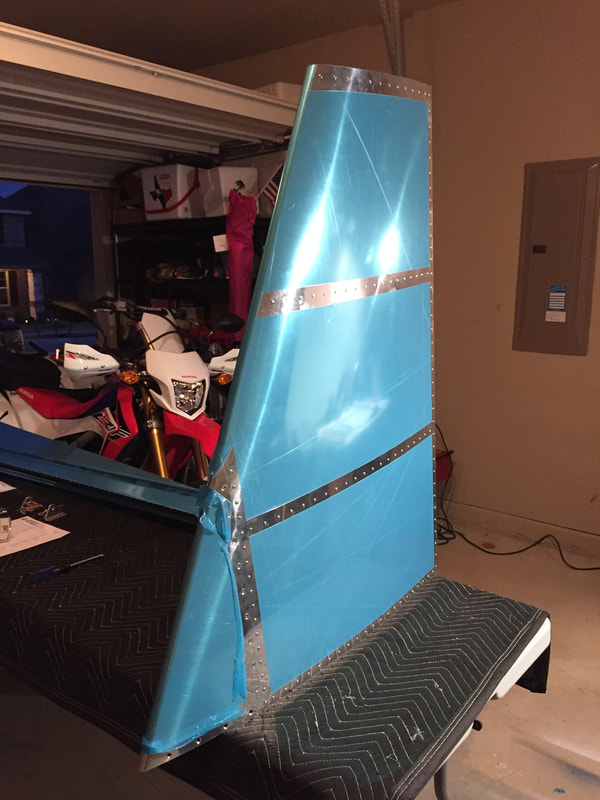
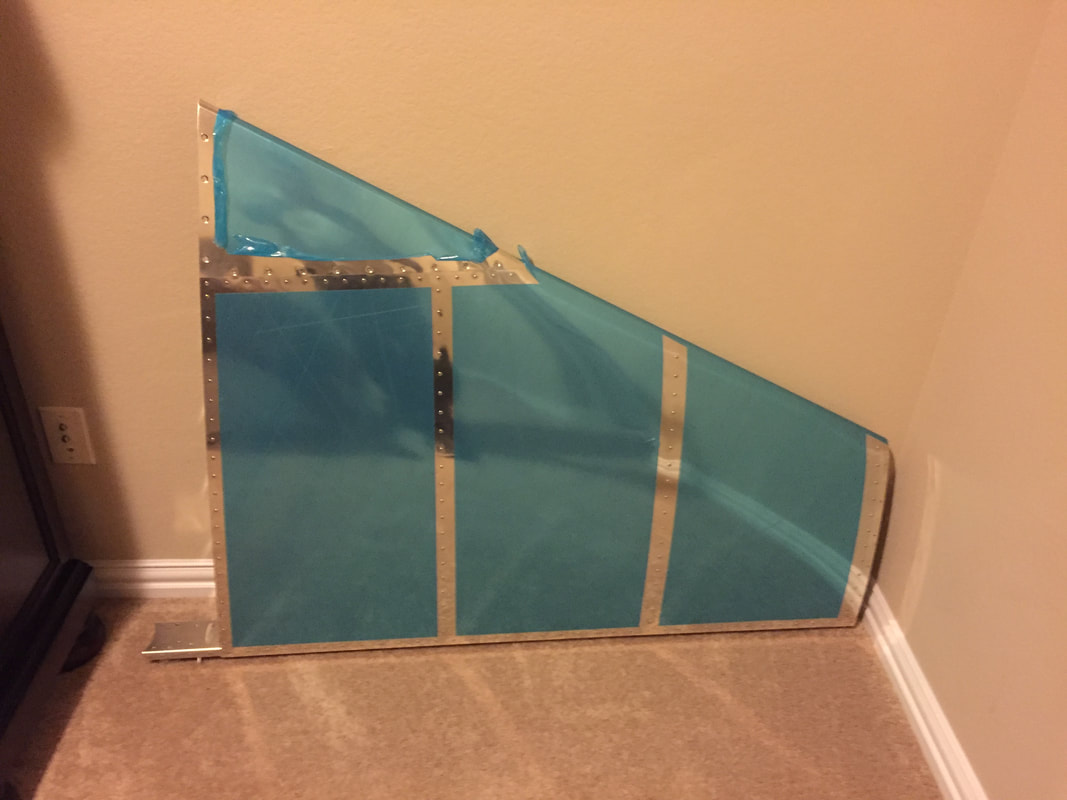
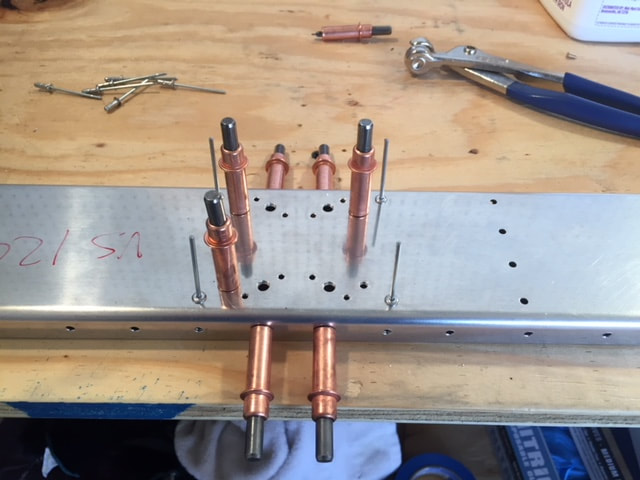
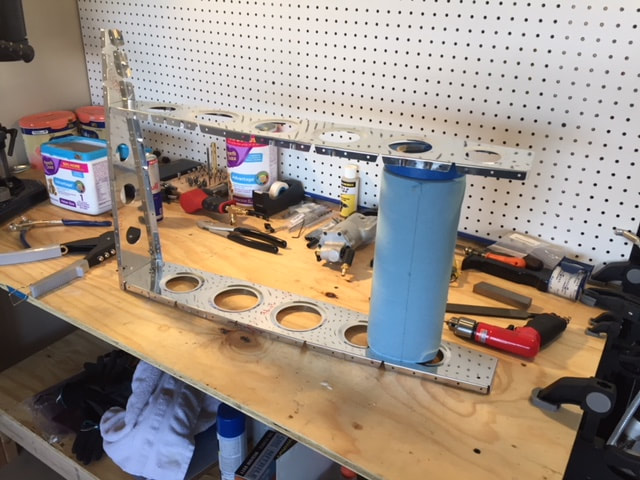
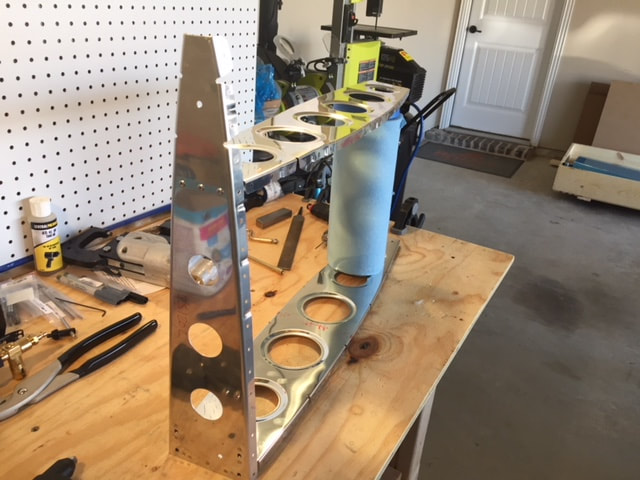
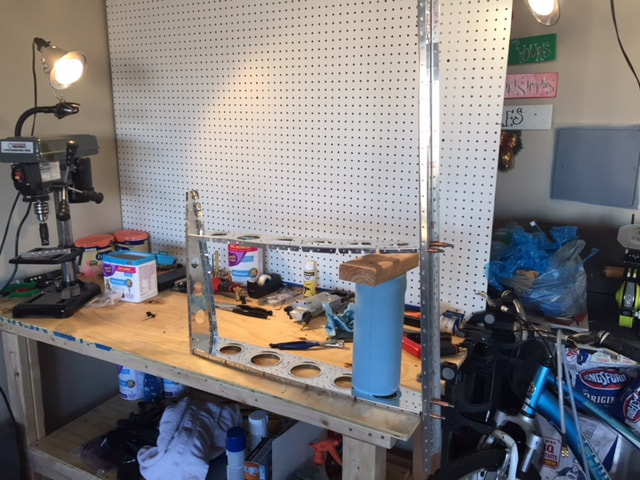
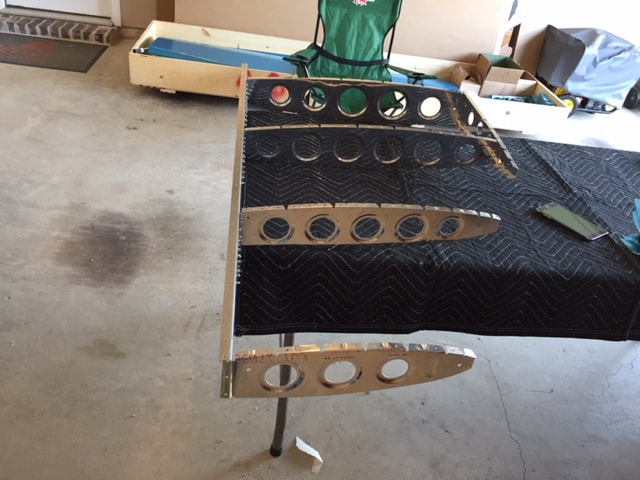
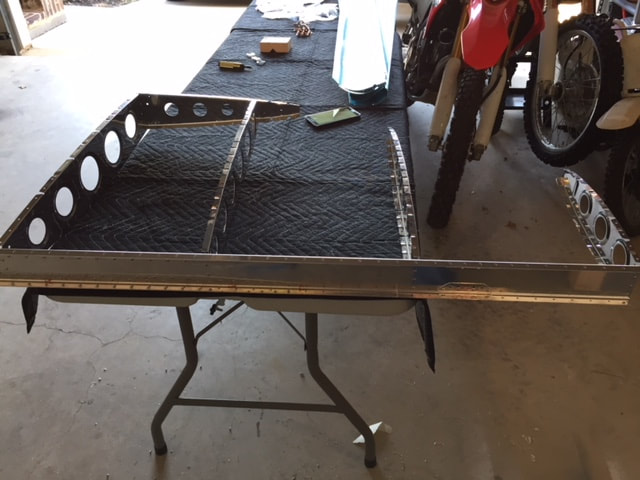
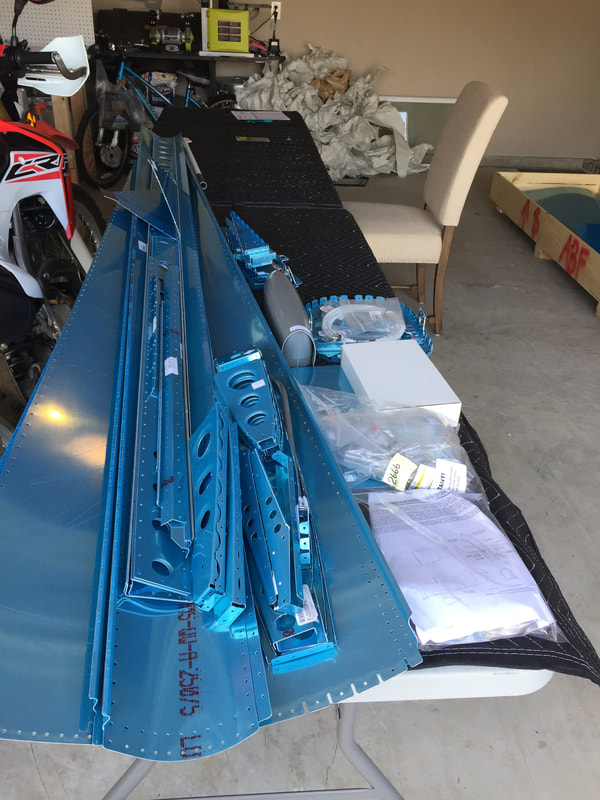
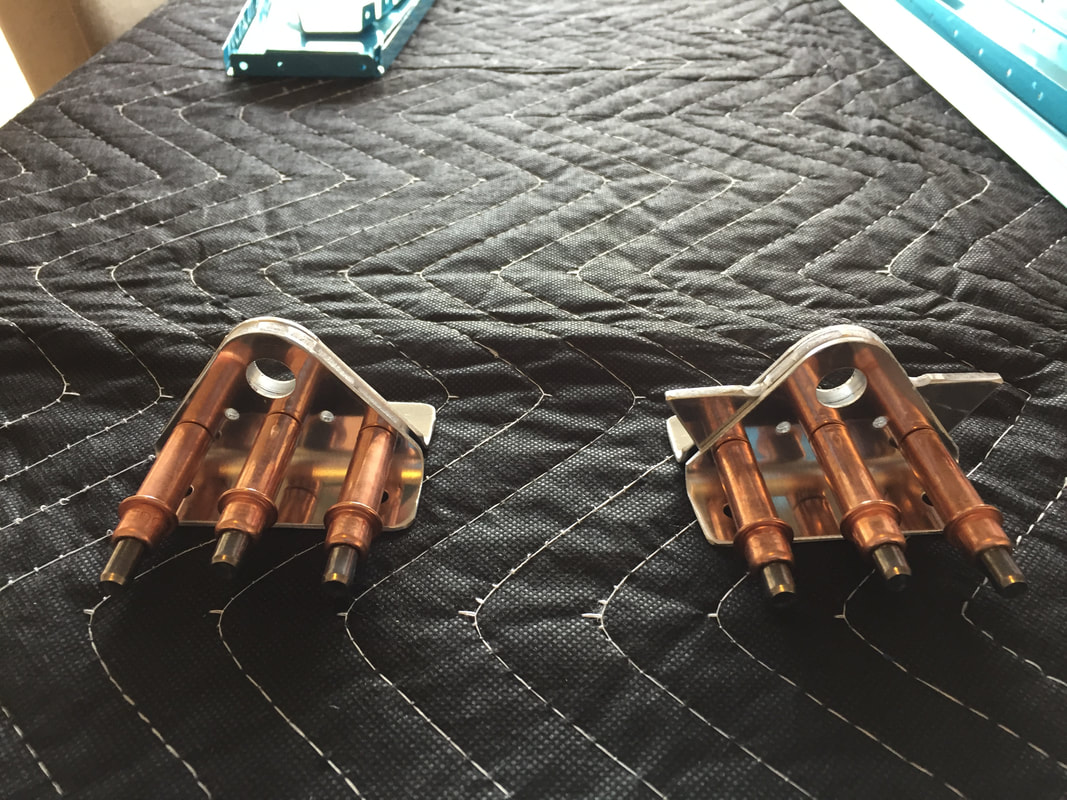
Stabilator SB and Tailcone Start3/28/2018 So, sorry its been a while. I have been busy on and off with the project which is making it really difficult to keep track of the actual build time. I get 15-20 mins of work in then something comes up. Nonetheless after sitting around waiting on the 470 rivets from Vans I kept looking at the plans and VAF and realized that I can install the skins on the stabilator without needing the rivets for the service bulletin. Before that got started though I went ahead and started on the tailcone section. First up is prepping the skins which took hours of tedious deburring and the worst part of all, breaking the edges. I could not seem to get the edge break tool to stop jumping the skin creating bends in the skin. I was getting frustrated and had to walk away several times. I cannot wait until edge breaking is done with so I can throw that piece of S*** tool away. After that it was to prep the fuselage frames. I have to admit when it asks to flute these things I was a bit confused by the location of the fluting. The drawings only show 1 place but it specifies 4 and the notches are not very profound. When riveting the frames together a couple of the 470 rivets in the F1210 plate caused a protrusion requiring me to drill the rivets out and start over, you can see the gap in one of the pictures below. The fuselage bulkhead went together without any complaints other than my schedule. After that it was on to the Stabilator skins which make me appreciate that rivet puller even more! That thing is worth its weight in gold! As I was finishing up the skins the mailman showed up with a package from Vans, YES! the rivets are here so straight to work on the service bulletin. All that left is to finish the SB for the horns and mount those then fit the bulkhead. Crawfish boil and smoked pork butt and ribs this weekend! See ya soon!
0 Comments
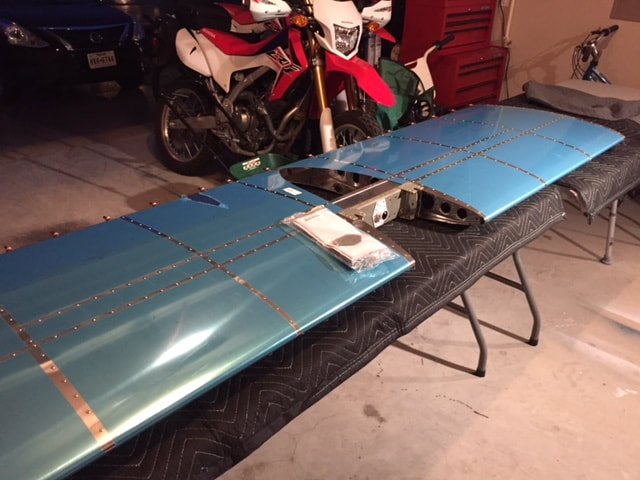
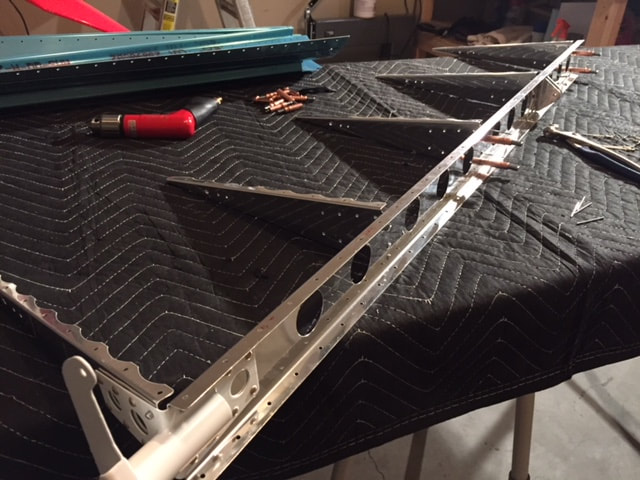
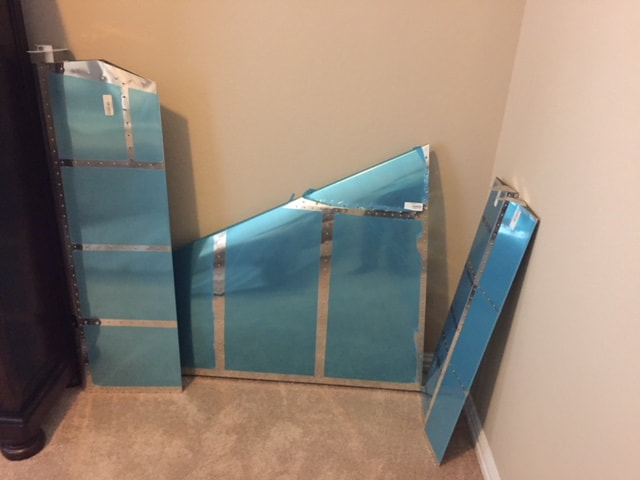
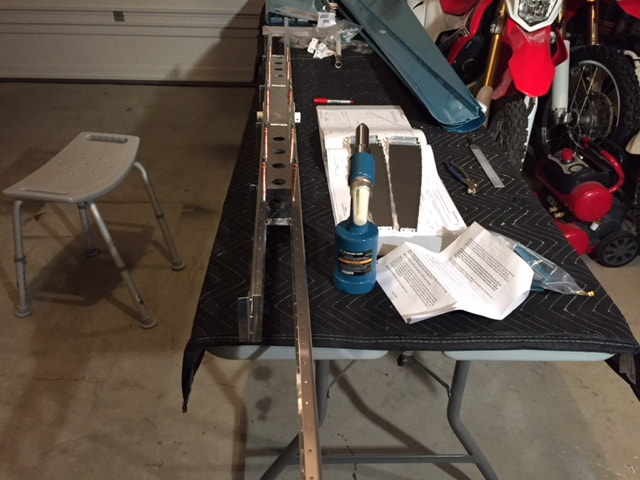
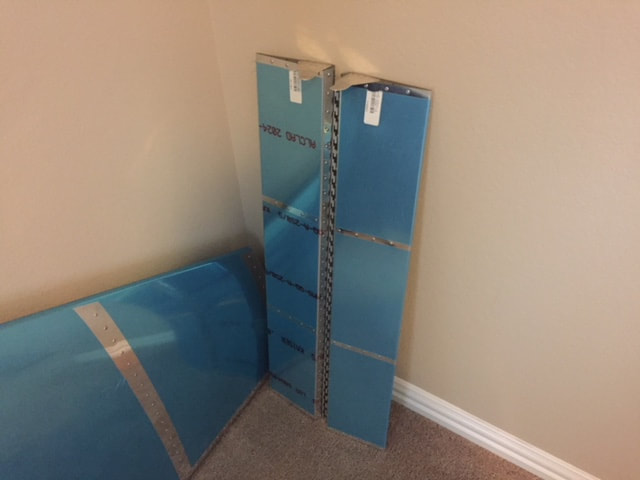
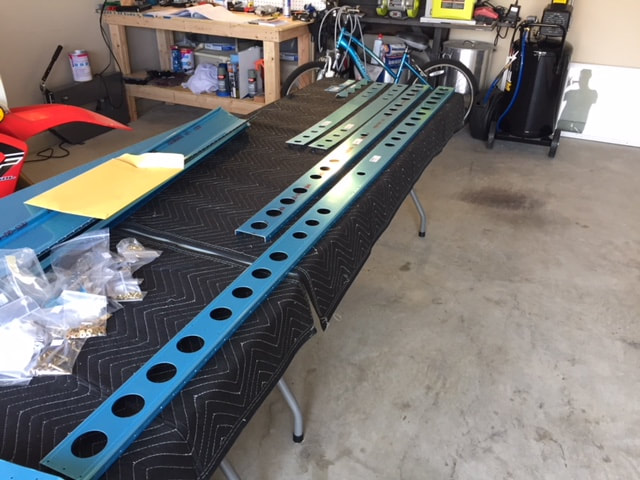
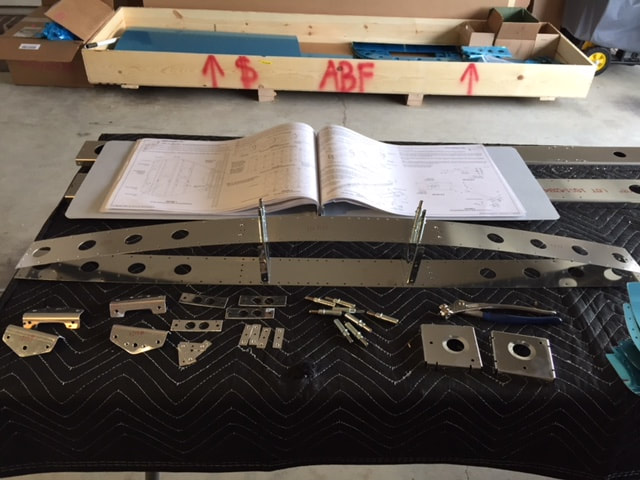
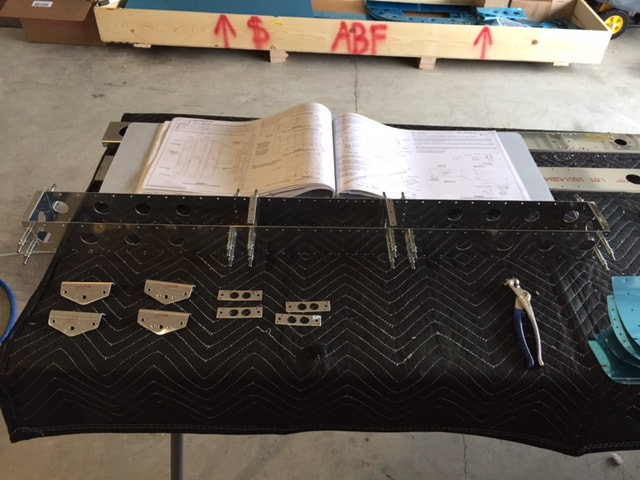
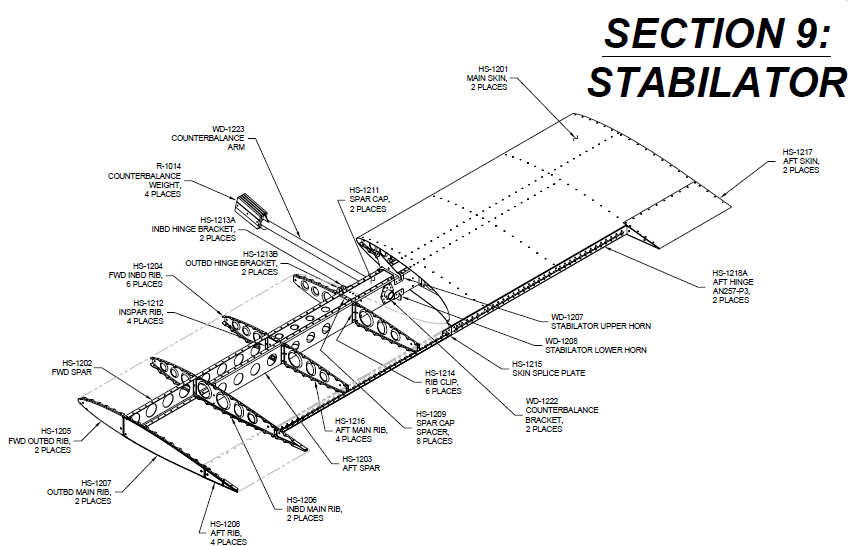
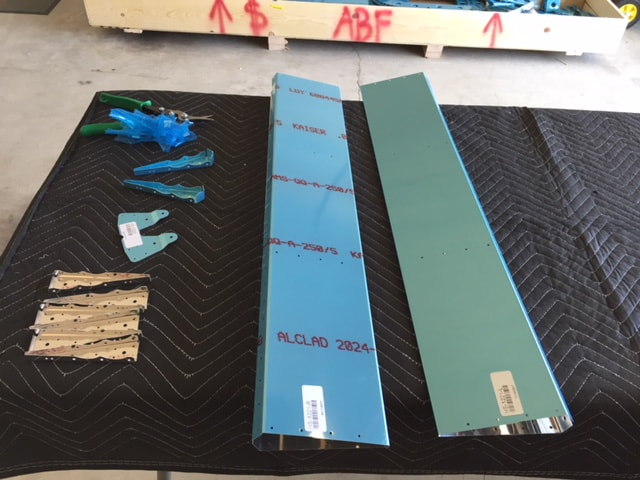
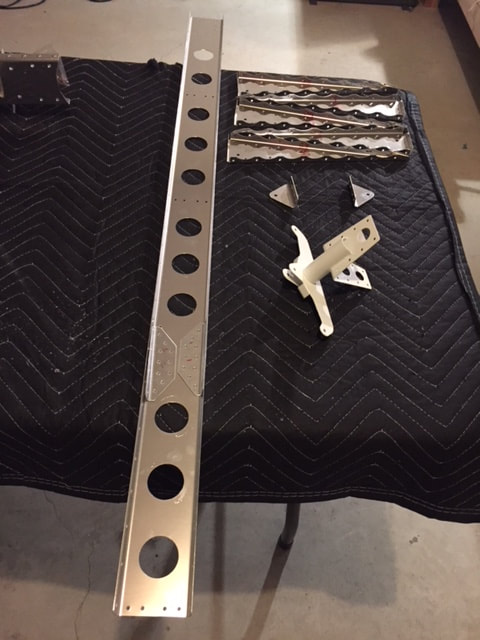
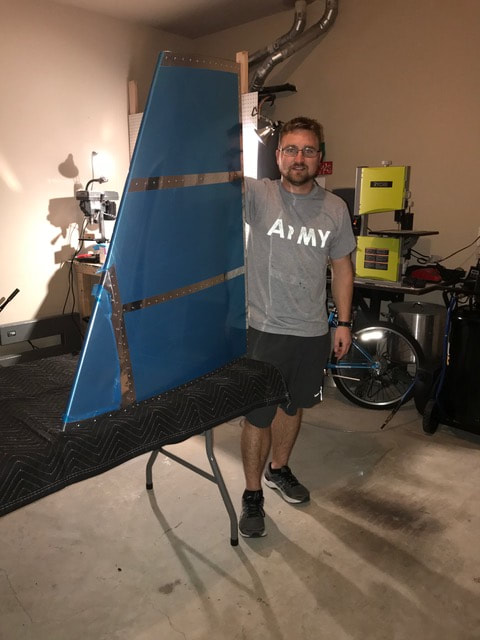
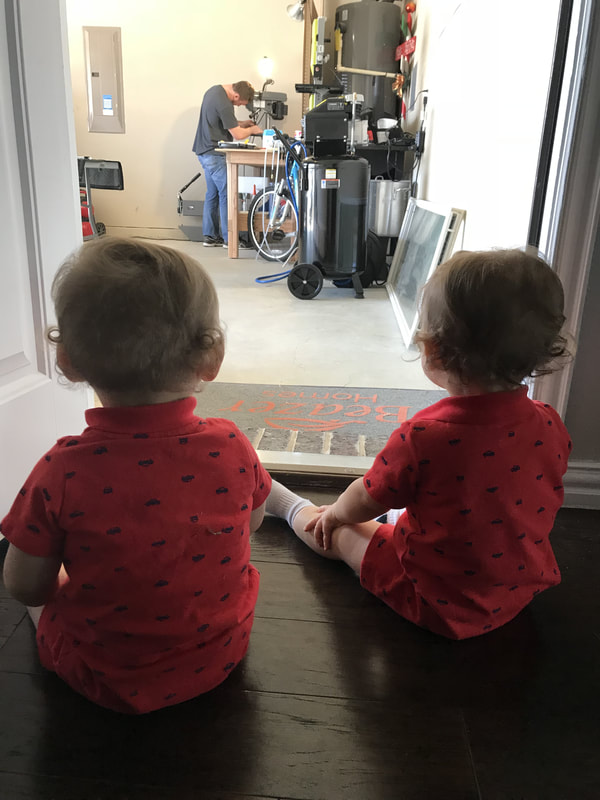
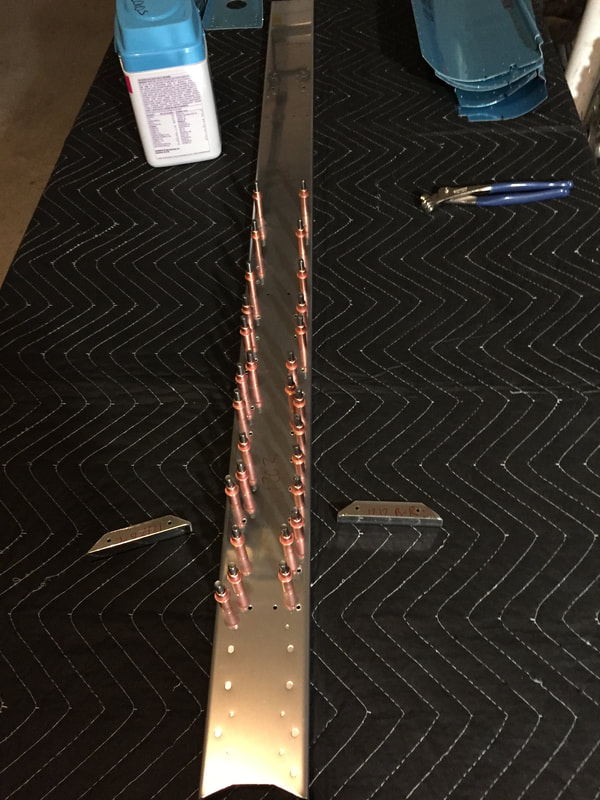
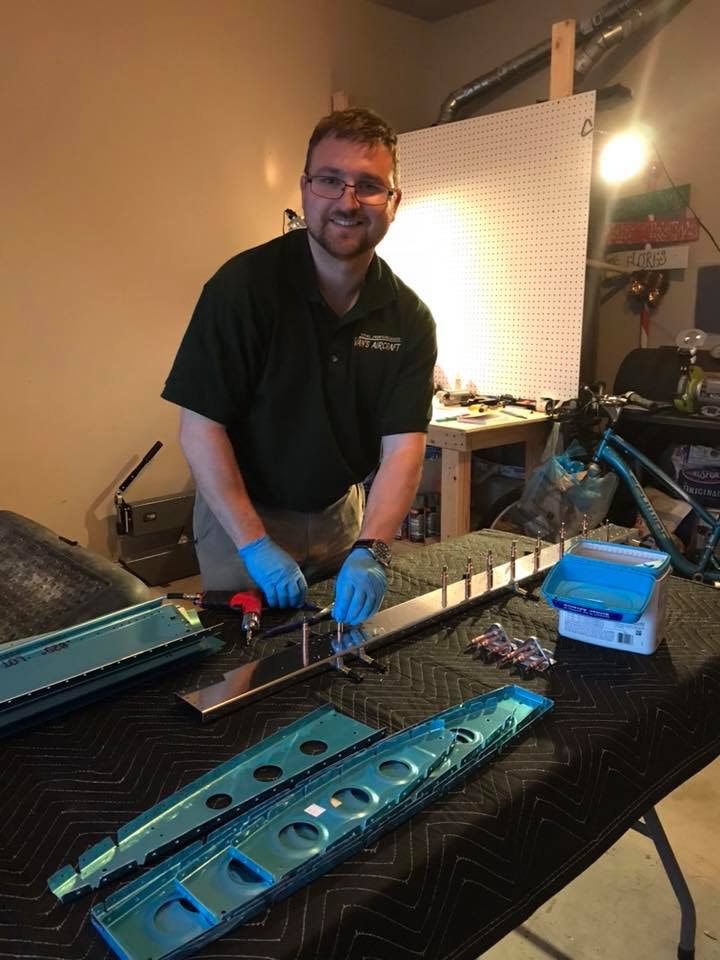
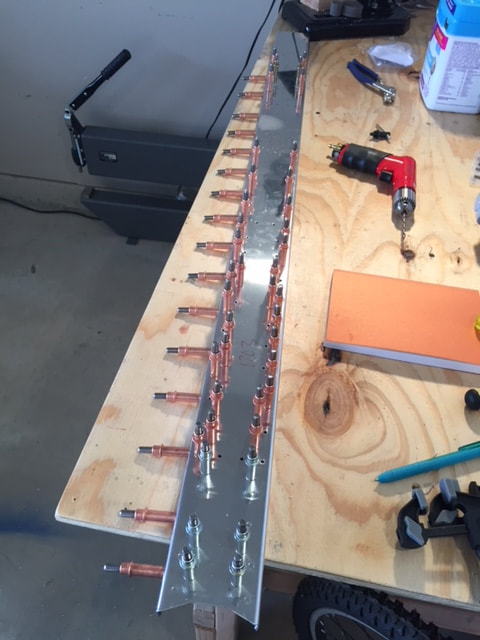
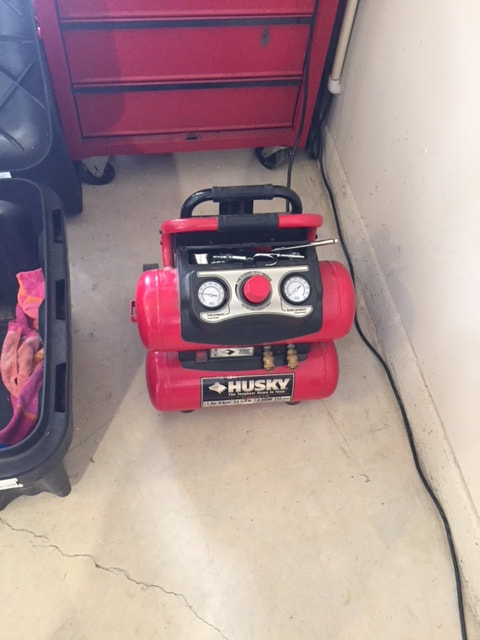
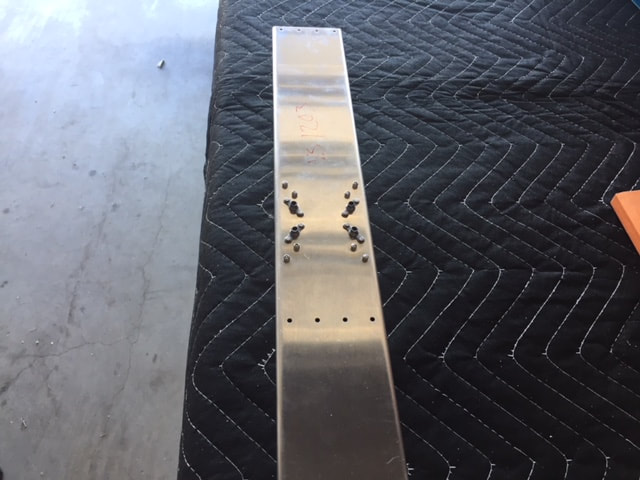
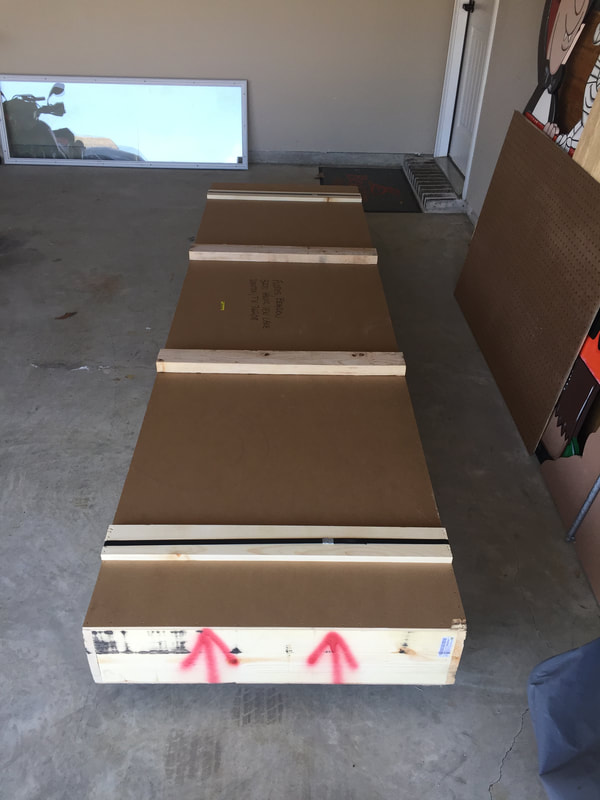
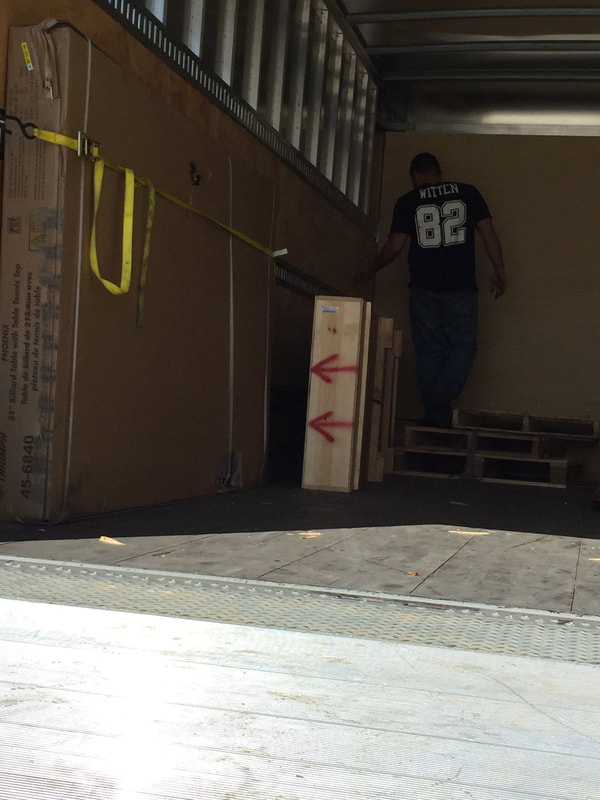
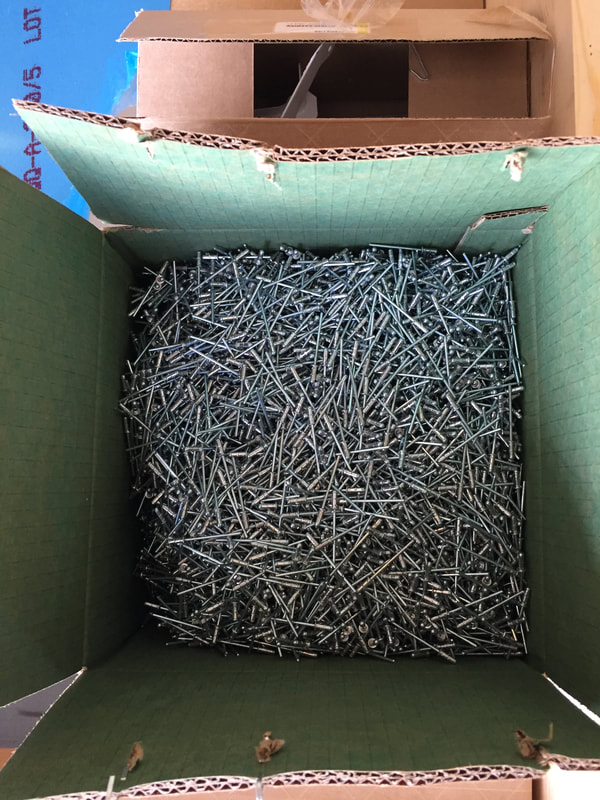
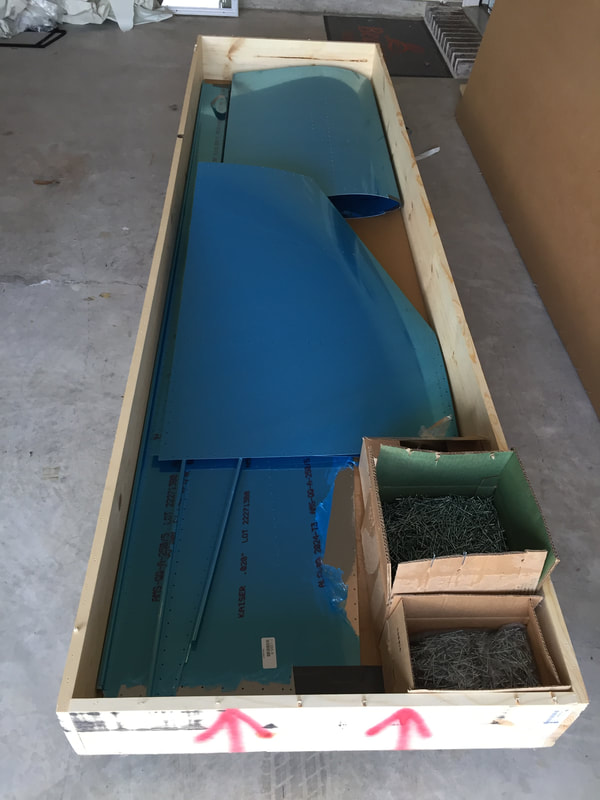
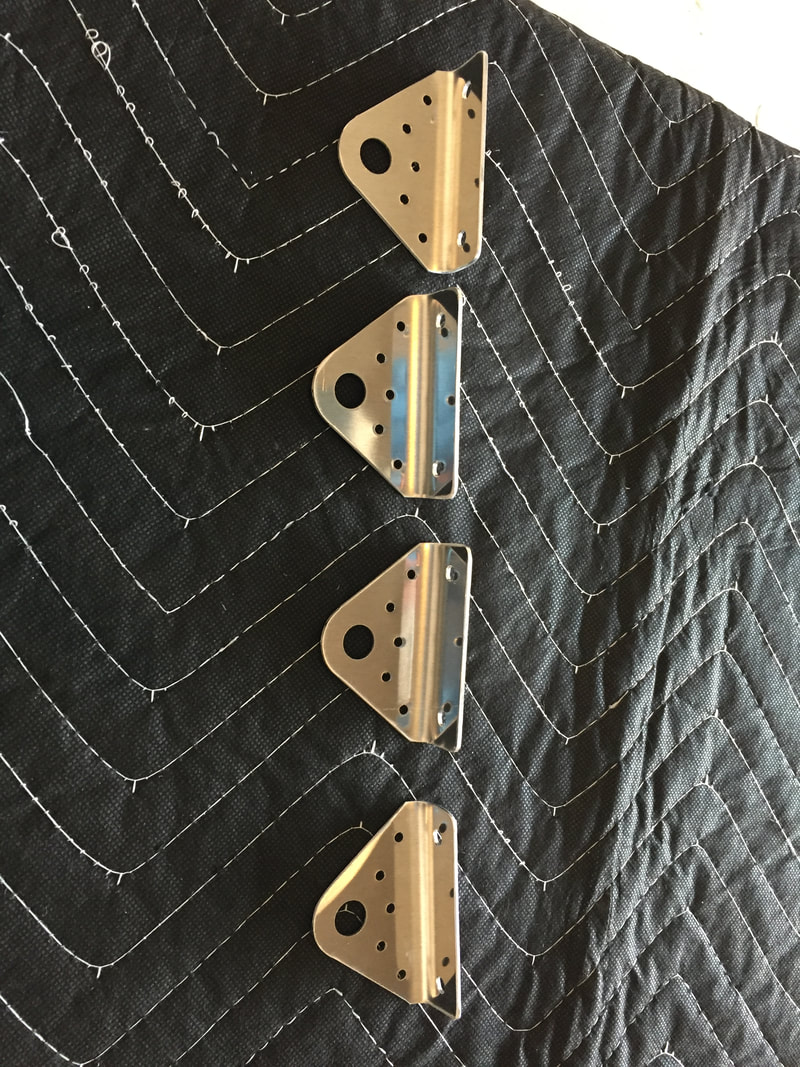
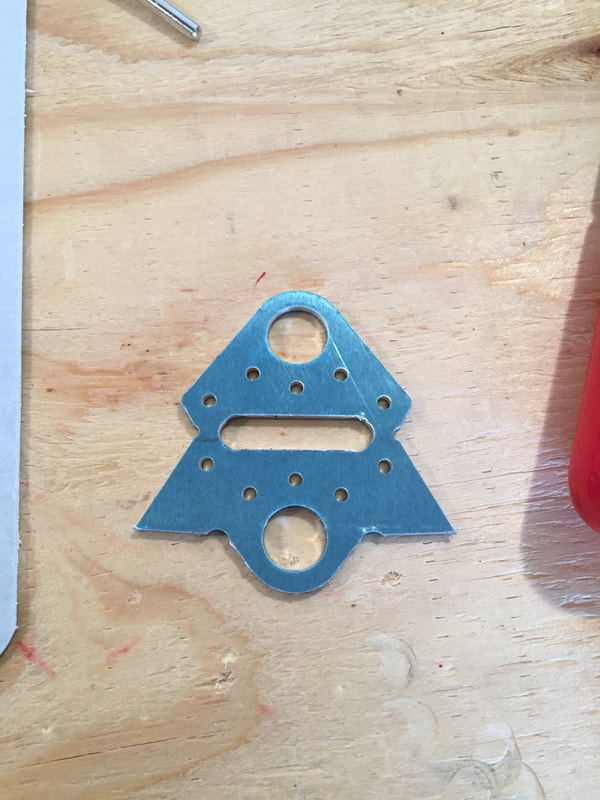
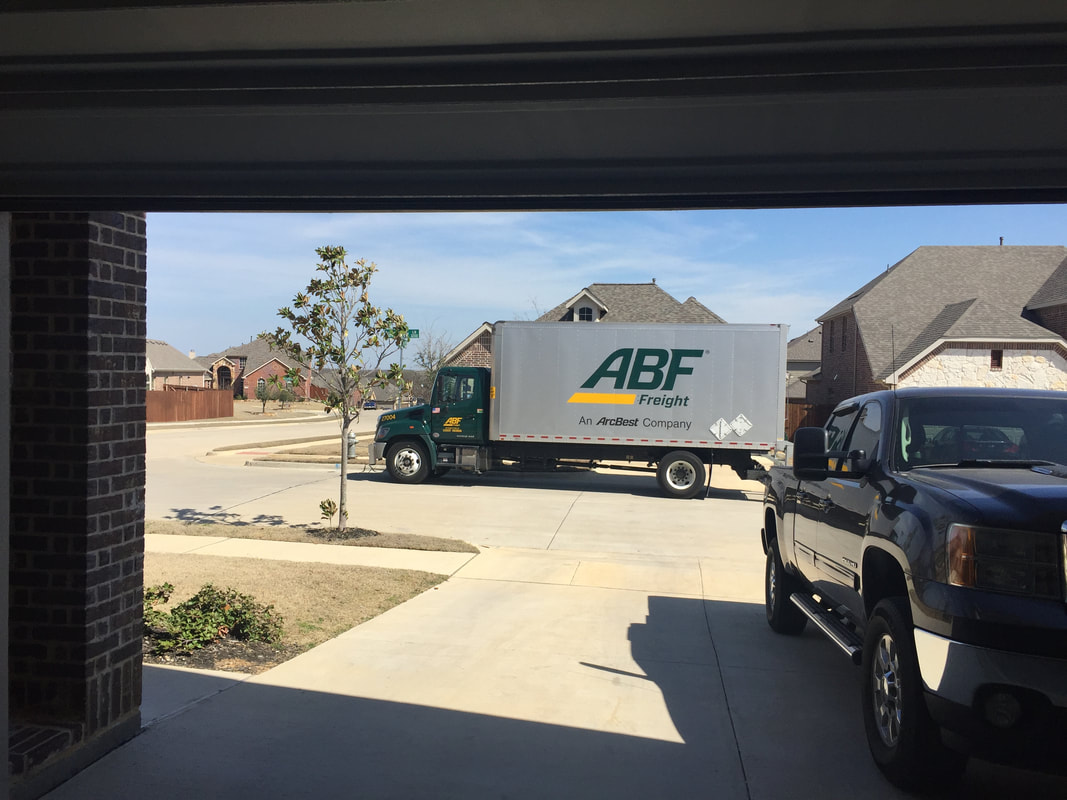
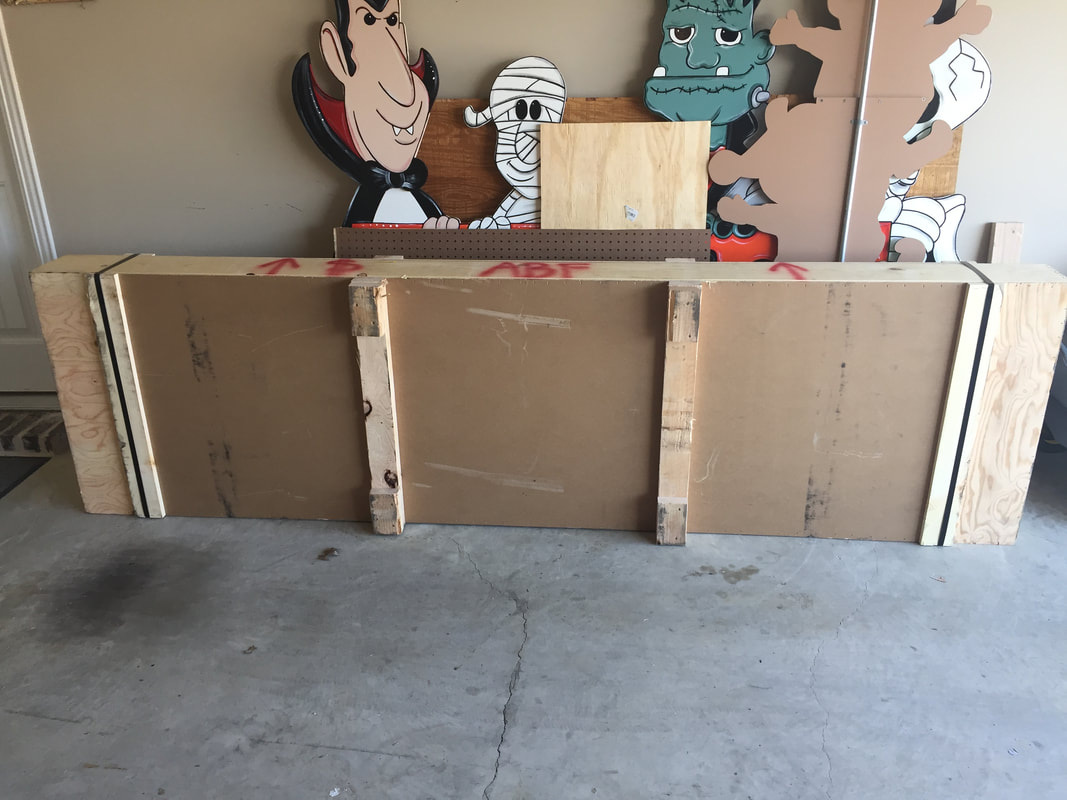
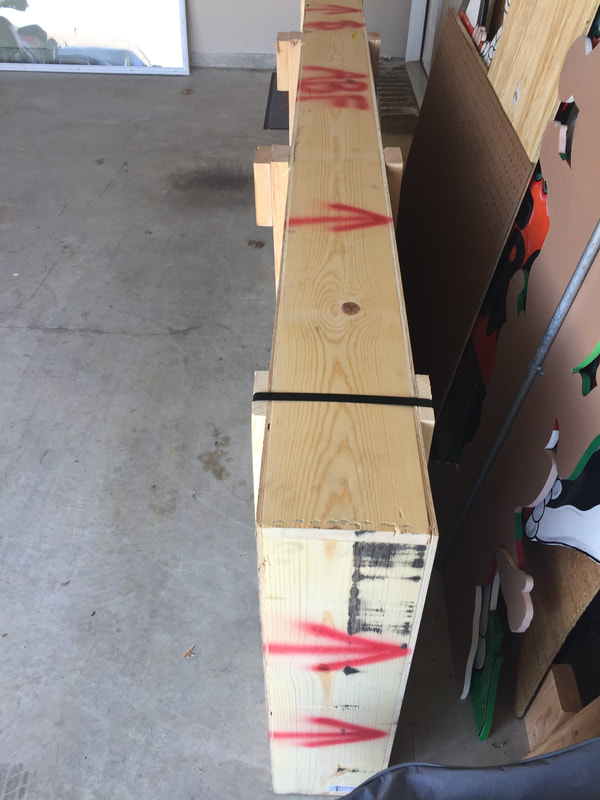
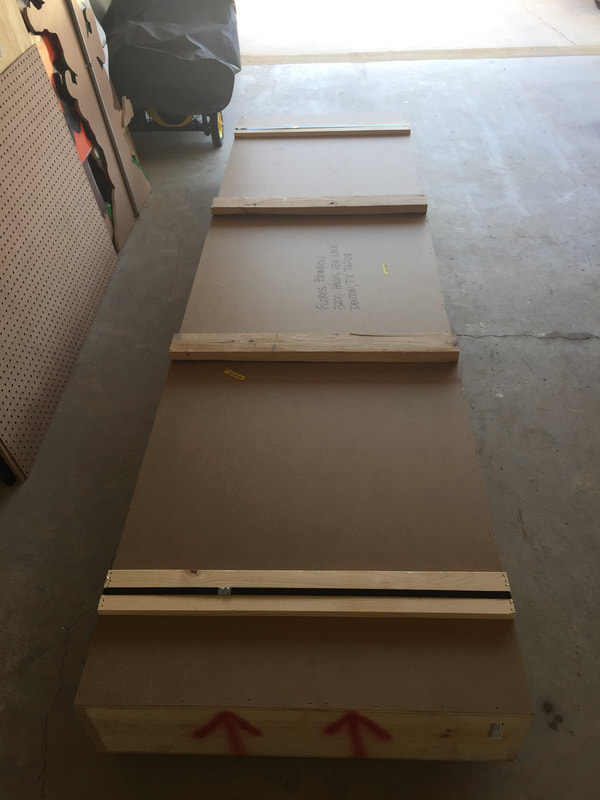
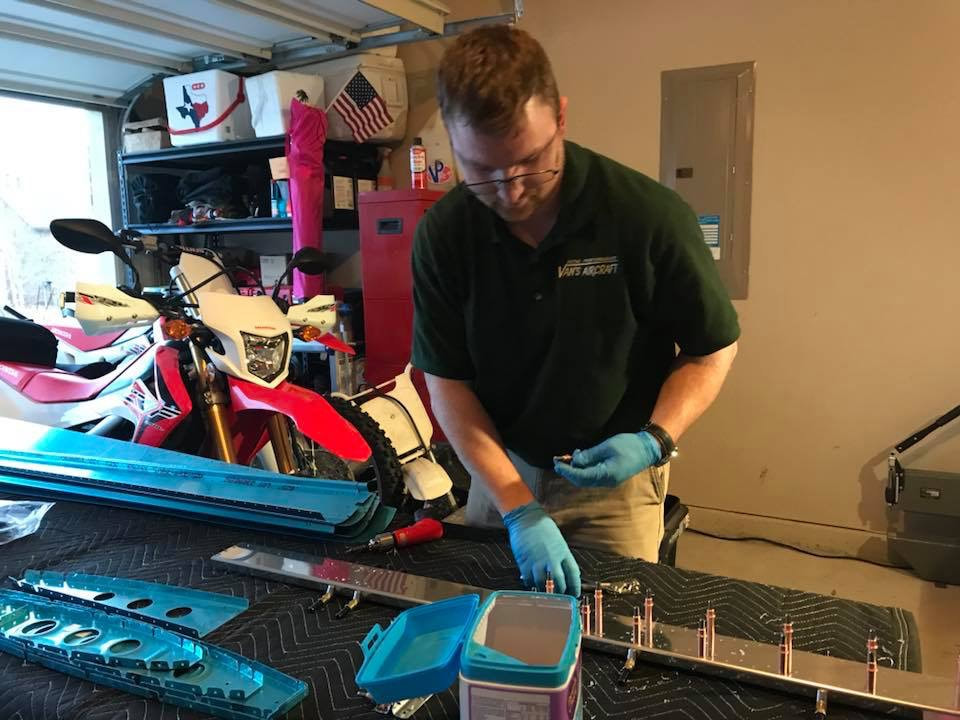
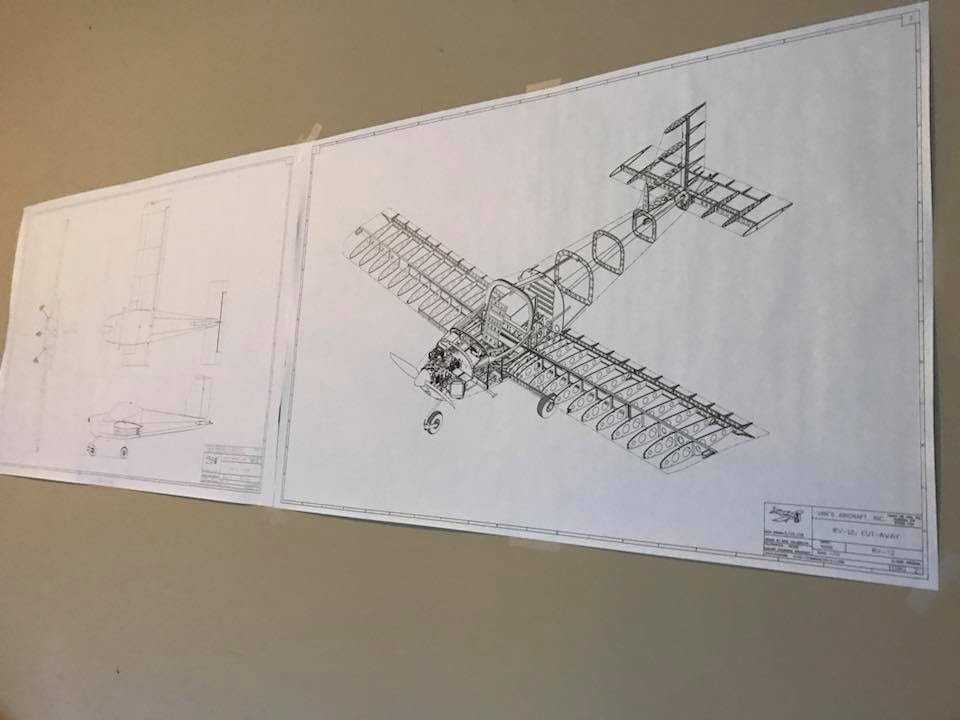
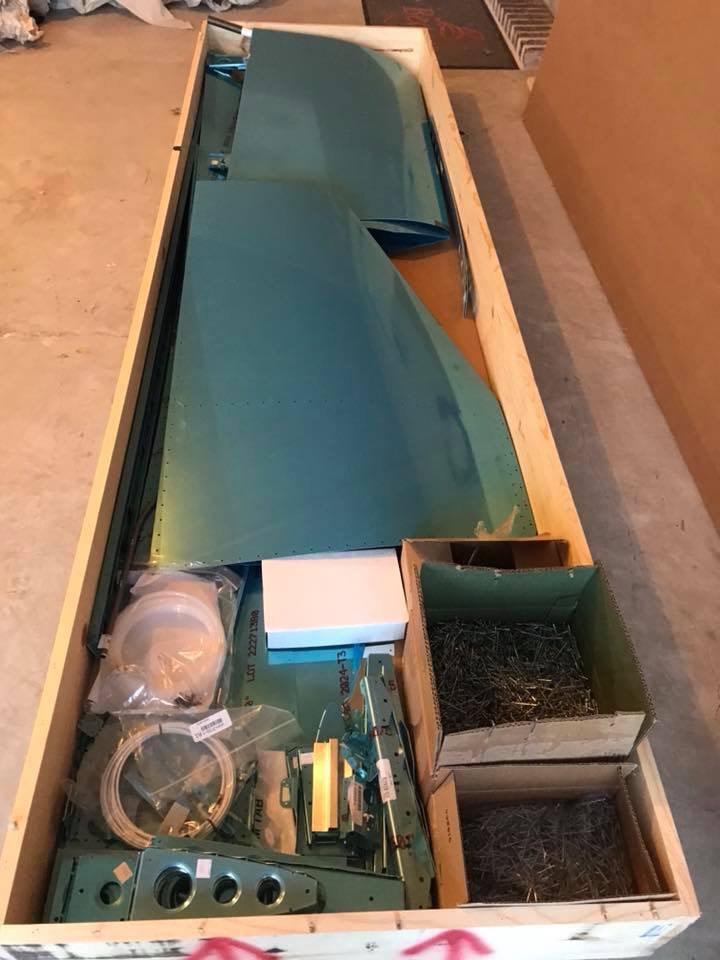
Rudder Complete3/23/2018 With the Stabilator on hold due to waiting on 470 rivets from Vans and now with the backorder parts in hand time to finish up the rudder. First off was to complete the hinge brackets for the vertical stabilizer. Got the bearings inserted into the brackets and riveted up. Took the rudder spar assembly upstairs to fit to the vertical stabilizer. You have to do this before assembling the rudder to determine the size and amount of washers needed so the hinge brackets on the VS line up perfectly with the rudder assembly. Probably one of the most tedious things thus far. It take some ingenuity to fit the washers into the tiny gap on the hinges. I ended up using a piece of scotch tape to hold the washer in place then slide the bolt through which broke the tape and allowed me to pull it apart in two pieces leaving nothing behind. I ended up needing 2 10L washers on the top bracket assembly and 1 10L and 1 10 washer on the bottom assembly for it to fit right. After all that sorted out the rest of the build went fairly quickly as I already all of the ribs deburred and prepped. I did make a boo boo when I attempted to rivet the first rib to the rudder spar. I guess my pneumatic riveter was bending the rib backwards pulling the rib cap away from the spar so when I riveted the cap is wasn't sitting flush. When drilling out the rivet I messed up the hole, so that was an easy fix. I needed one rib with the cap cut off so I had my candidate. Everything else was riveted up without further issue and we are one step closer to controlled flight! Going to start prepping the skins for the tailcone assembly. Stabilator and Service Bulletin3/20/2018 Made quite a bit of progress today before a simple mistake on Vans part has the entire project on hold. Started off with re-cleckoing the front and rear spars to the spar box assembly and after some confusion of finding the CS4-4 rivets (countersunk size 4 pop rivets) I managed to get that assembly finished. Next off to page 9-06 and preparing the ribs for the Horizontal Stabilator. If there is absolutely 1 tool that I would highly recommend it is the 3M deburring wheels, I have the 1", 2" and 6" (bench grinder) wheels and boy do these things save a ton of time and headache. I see too many videos of builders meticulously deburring for hours on end. The wheels make it a snap. One of the parts I didn't particularly care for here was the rounding of the forward ribs where the skin will bend around the leading edge. I had one rib catch on the bench grinder and ripped it clean out of my hands. Thankfully only a small bend on the front of the rib that was easily repaired. All the ribs were deburred, cleckoed up and finally riveted onto the spars. There was no point in proceeding onto page 9-07 as all of the parts on this page were going to be removed to complete the service bulletin that Vans put out. There were some instances of cracking on the spars where the horns attached so Vans sent out a mandatory Bulletin along with parts that were required to be replaced/installed. As luck would have it, the very first part I was to rivet called for 470 rivets and the bag where the 470 rivets were supposed to be were filled with 426 rivets. Quick call to Vans and your parts are on the way! So now on hold until we get those in. I may work on the VS and finish that up tonight or tomorrow. Laterz Stabilator, Yard Work and Truck3/19/2018 So its been a slow weekend for the build for sure, starting with the rodeo on Friday, which btw I absolutely dislike Chris Stapleton's music! There glad I got that off my chest. So we returned home Saturday as I had to work then we had a St. Pattys day party to attend later that evening so I got a couple hours of work in that time frame. Oh first things first though, I received the parts that were on backorder from Vans which comprised of the bearings and the service bulletin 02-02-18 which entails beefing up the stabilator horn attach points where other builders had began to experience some cracks. So onto that next. In the picture below is basically what I got done in the 2 hours I was able to put on the plane Sat. which consisted of priming the front spar, riveting all of the doublers and nutplates to both front and rear spars. Some deburring and that was all she wrote for the weekend. Sunday was comprised of much needed yard work, weed and feeding, and then working on my truck which had a leak in the windshield washer fluid container. I figured since I had the wheel well off I mind as well change my glow plugs out as they are all needing replacing. Going to reinstall the tank and put the new glow plugs in today so I can get back to the plane. Cheers! 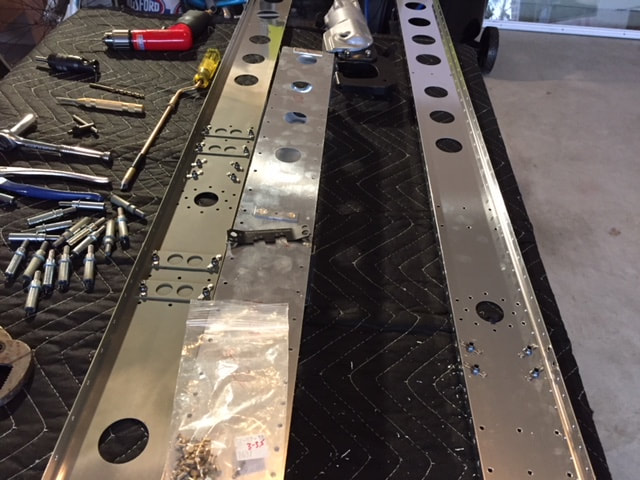 Start of the Stabilator3/15/2018 We are headed to Houston tomorrow for rodeo to celebrate my brothers birthday which was actually last weekend. So it'll be a couple of days off until hopefully Sunday. Made tons of progress today so I thought an update would be best before I get too far ahead and have too much information to upload all at once. Starting off with the finishing of the Anti Servo Tabs. All I had left to do since my last update was to rivet the bottom ribs and the hinge on the bottom leading edge which went relatively uneventful. The ASTs joined the VS upstairs in the guest bedroom like a proud completed piece of artwork. On to the Stabilator, Also I just realized that I was not posting pictures of the drawings for these pieces so my apologies, will make a mental note to do that from here on. Ah yes the stabilator, it starts out with assembling the spar box assembly which is just some flat aluminum attached to square flanges. It is really easy to mess this part up as I thought I did after I had everything riveted together. Talk about give ya a heart attack! Once I delightfully realized I had everything together correctly, turns out I was just looking at the assembly backwards as I had it flipped over to do some deburring, you press on the Front and rear spars. The spars are the long 8 & 6ft pieces lying on the table, which will be the width of the stabilator once complete. There are many small parts that must be cut and deburred to act as stiffeners, caps and doublers which takes up most of the time on this section. You get to a point where you have to use a nut plate and a screw to match drill the nutplate holes onto the spar for the horns, 16 total holes. This was the biggest PITA thus far as holding a nutplate in place with no holes to secure it to creates a ton of scratches on the inside of the spar, I have this pictured below. That was the stopping point for tonight. When I return I will have to finish drilling the holes for the nutplates on the rear spar for the horns. Catch ya in a few days! Anti Servo Tabs3/15/2018 With the rudder being on hold due to the bearings being on back-order I decided to move onto the AST. Note: you need to fit the rudder to the VS before continuing the rudder and you cannot fit it properly without the bearings on the VS. I called Vans to see when the parts on B/o would be in stock and apparently they are back in stock and should ship out any day now, so hopefully soon we can resume our normally scheduled programming. One thing I will note about working with the ASTs is when it comes time to solid rivet the AN426AD3-3.5 rivets to the control horns be VERY careful if you have a pneumatic squeezer like I do. The squeezer will grab the flanges of the ribs and bend them inward, this also causes the shop head of the rivet to fold over requiring you to drill it out. What a PITA! Other than that and working inside the tight space of the ASTs they are coming together fairly nicely. My allergies have been on overdrive, so I took a Benadryl last night and worked on the ASTs until I started to feel the meds kick in. This got me all the way up to drilling the hinge brackets. I heard other builders complain about cutting the hinges to size, I found the instructions adequate and had to make two cuts on each hinge so that the hinge eyelets are on both ends. Just read the instructions carefully and no sweat. Rudder Started3/13/2018 Got home yesterday and the wife was wanting some BBQ to which of course we had nothing in the house to throw on the pit. So that meant a Kroger run as a family. I managed to sneak in some, vinyl removal, deburring and final drilling before I was getting that ominous look as if to say "Um what the hell are you doing, lets go" So off we went. We made it back in about an hour and half to which I lit the coals for the grill and rushed into the garage to finish up some deburring and proceeded to cutting the spar caps and hinge brackets. Got everything lined up for match drilling the spar caps, oh snap the grill! I almost forgot. threw some chicken quarters on and back to it. Match drilled the caps and pondered the priming war in my head. so although I didn't prime the VS at all I think I am just going to prime the mating surfaces of the rest of the plane. I figure it wont add much to the cost and with all the scratching that takes place from the drilling and handling in general that thin layer of Alcad probably wont mind some mother nature assistance. So from here on ill be priming the mating surfaces. Who knows, if anything it can be an experiment, kind of a funny notion an experimental airplane partaking in a priming war experiment. In 50 years or so someone can pull apart the VS and HS and determine if the priming made a difference or not. It was at about this point I realized there was chicken still on the grill. Not too bad only one burnt piece, from a flare up I assume. Ahwell back at it tomorrow (today actually), Ill be working from home so maybe I can sneak in some build time. Put a picture up of me with the VS finished up when I realized I will need it complete the rudder assembly fitting. Vertical Stabilizer3/12/2018 Spent nearly the entire weekend working to complete the Vertical Stabilizer and I have to say it was a proud moment holding up the completed product. Well nearly completed, still awaiting the bearings which are on backorder so I can finish the hinge brackets. Before all that happiness started though my little 4 gallon air compressor that ive had for atleast 10 years finally crapped out. Off to Harbor Freight to pickup a new compressor. So far it works great, much louder than my ol husky but it isn't running nearly as much. Ill post an update if the cheaper HF compressor ever goes out. I initially started just hand pulling rivets as I had not bought a pneumatic rivet puller as the RV14 I was originally going to build didn't use any pop rivets, well pulling rivets with a hand squeezer went to shit realllllly quick. So back to HF for a pneumatic puller and I absolutely LOVE that thing! Getting the VS1201 skin to fit around the VS1205 and VS1202 ribs without creating a bulge took up most of the time. I had to fit, clecko, disassemble, file the edges of the ribs and try again several times until finally the rib edges didn't create a pressure point on the skin. I'm pretty sure my right forearm muscle strength grew by atleast 10%! Its just clecko after clecko, whew I'm worn out just thinking about it. Well eventually once it was all fit together nice and snug I began riveting the leading edge on each side doing 2-3 rivets at a time then switching sides so the riveting was uniform. After an 8 hour day on Sunday the VS was finished up and put in our guest bedroom upstairs. My wife caught a picture of our boys, who are actually surprisingly entertained by me working in the garage. In that picture I was countersinking the upper and lower flange brackets. Where it All Starts3/9/2018 What a DAY! ABF had a delivery window of 8am to 5pm, soo much for anxiety... Well at 2pm I just happen to notice a big green truck coming down the street, well I lied I was actually sitting in the garage all day waiting. Conference calls and all, took em right there in the garage with my finger on the "end call" button. IT COULD ONLY BE ONE THING! EMPENNAGE and tailcone arrival! Awesome driver, he offered to unload and even maneuvered the box right where I wanted it, and my biggest fear of a gaping hole in the side from a forklift was quickly alleviated as there wasn't a scratch on this thing! Awesome job ABF! Well no time to waste immediately got to inventorying to which I discovered there were about 2 dozen misc parts on backorder, of which two were the bearings for the VS which is basically the first thing you do, bummer! Well good thing about a new kit is there is still plenty of work to be done so I did what I could without the bearings and then moved on. Took a couple hours to inventory everything and shouted holy crap (in other words) when I opened the box of rivets! Nearly 15K of them. BTW Vans does an amazing job packing these kits, everything was packed in that crate like they were meant to be together, but NOT FOR LONG! Started on 6-02 with separating the Vertical Stabilizer hinge brackets then shape, file, match drill, debur and clecko until it hit me that the bearing is on B/O. Ahwell put that to the side and onto 6-03 prepping the Left and Right spar caps and match drilling the #30 holes for the upper and lower caps. I was just in a groove when momma pops her head in the garage holding an empty gallon jug for milk. "OK, ill be right back" quick run to QT and then get the babies ready for bed. Be back at it tomorrow folks. Goodnight Archives
January 2019
Empennage Total Build Hours: 82.24
Inventory: 1.45 Vertical Stabilizer: 13.26 Rudder: 7.5 Anti-Servo Tabs: 4:30 Stabilator: 24.11 Tailcone: 30.42 |


 RSS Feed
