Fuselage8/21/2018 Fuselage kit ordered! Check the Fuselage section for further updates. Currently Vans is showing an 8 week lead time but I suspect it may take a little longer due to Oshkosh just finishing up. Updates to come soon!
Ready5/21/2018 No changes since my last post, still waiting to order the next section. A minor change on that point though, I will be ordering the Wing Kit with lighting options next as I got thinking that once the fuselage is built I wont be able to store that anywhere to complete the wings. I can put the wings in a cradle therefore leaving space to build the fuselage once they're complete. I sure wish I could order the wings now, with some of the downtime on the weekends I keep wishing I had something to work on. Wife an I will be on vacation first couple of weeks in July and with all kinds of other things going on the ordering of the next section is taking me longer than I would like :( . Ill check back in a few weeks. Later
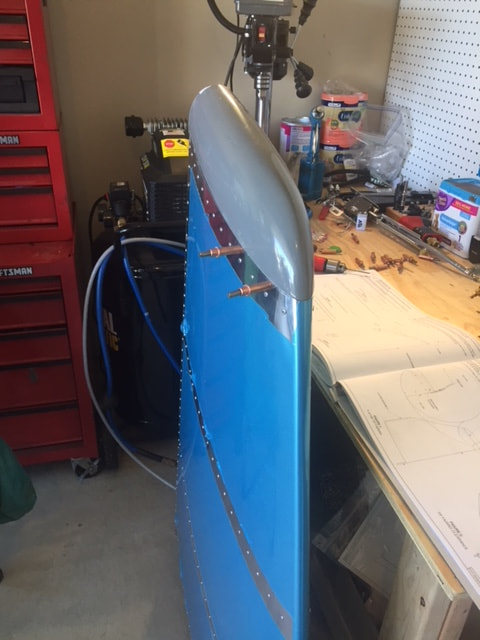
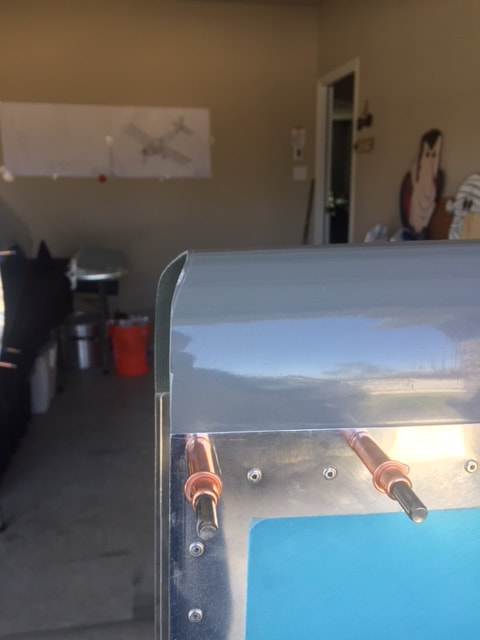
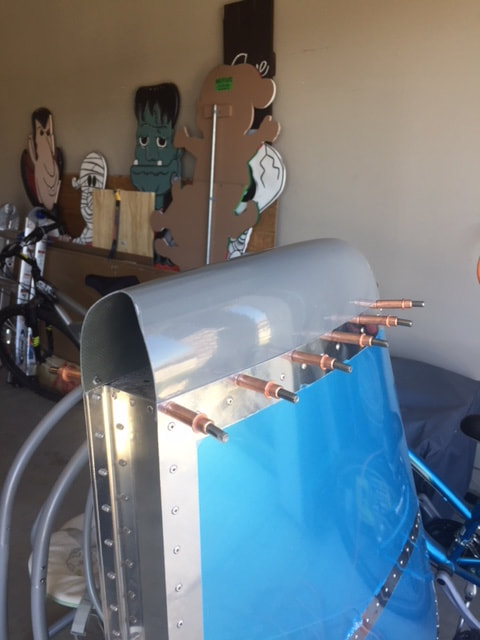
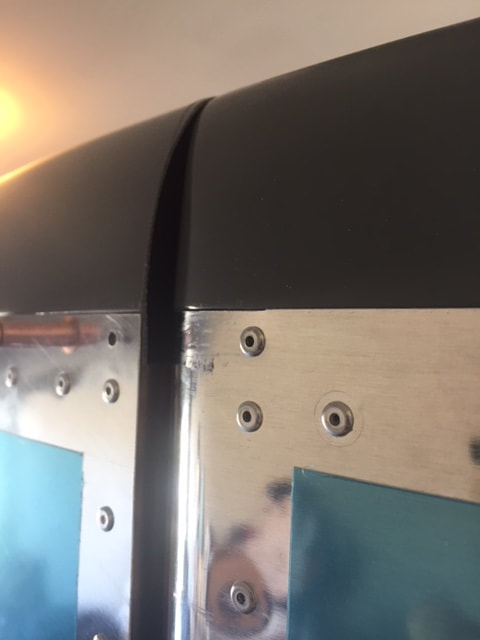
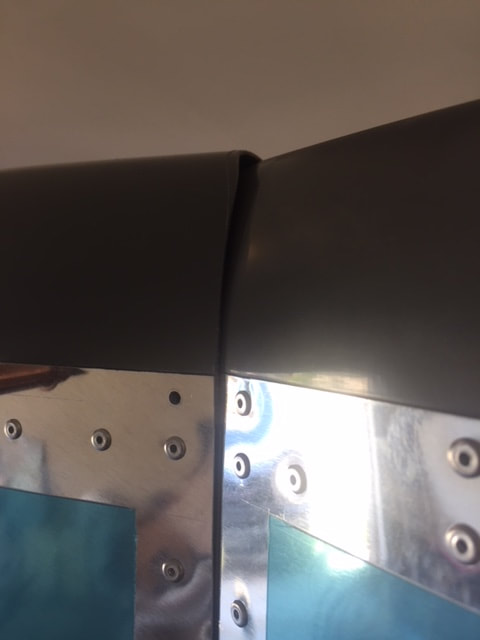
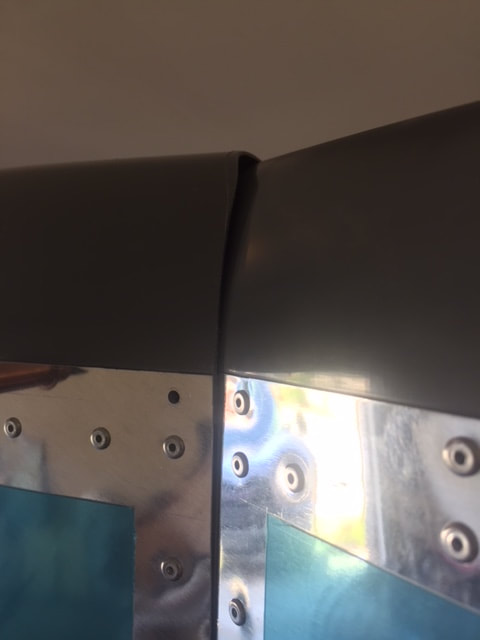
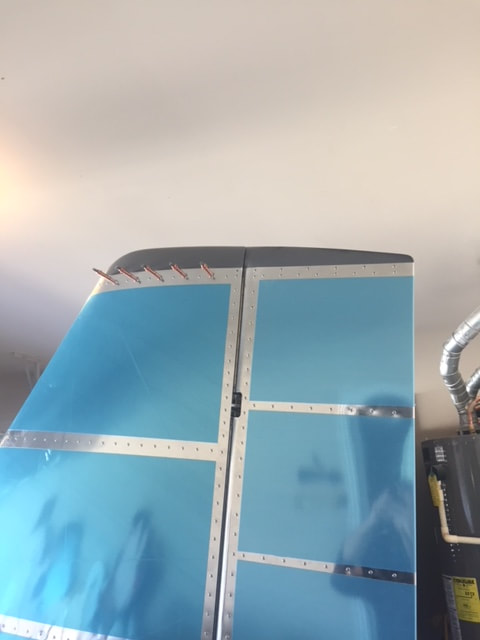
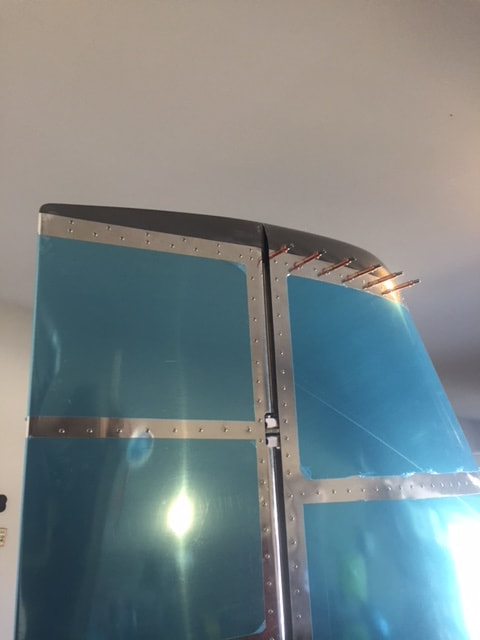
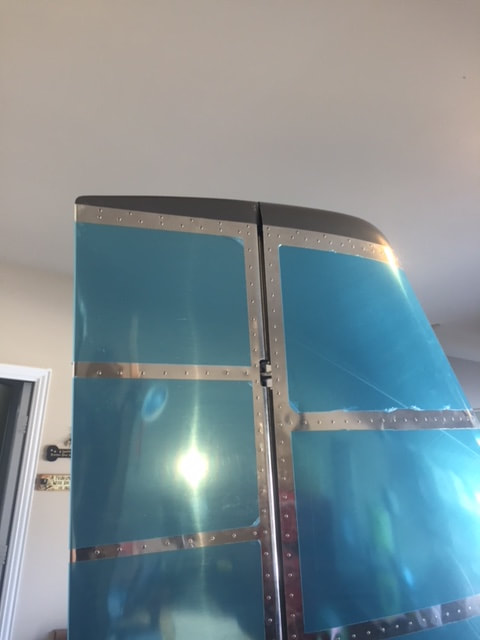
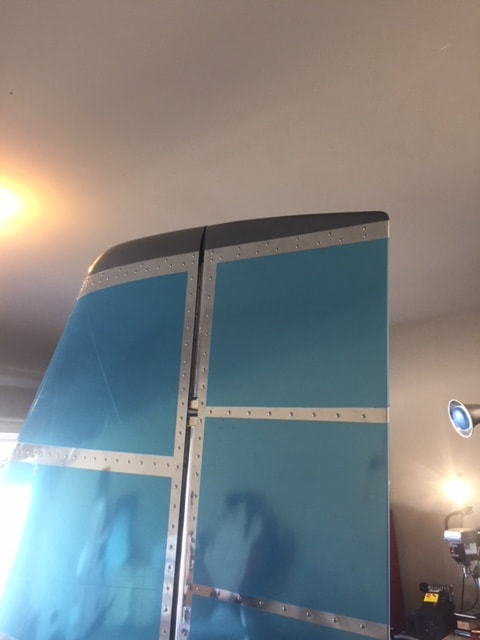
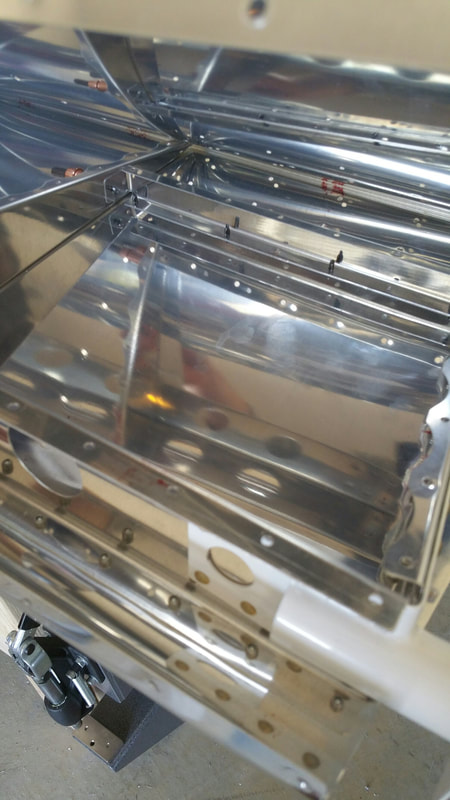
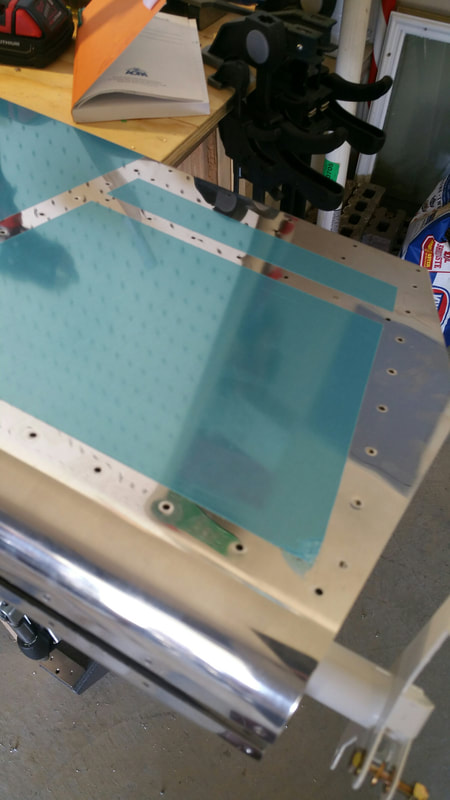
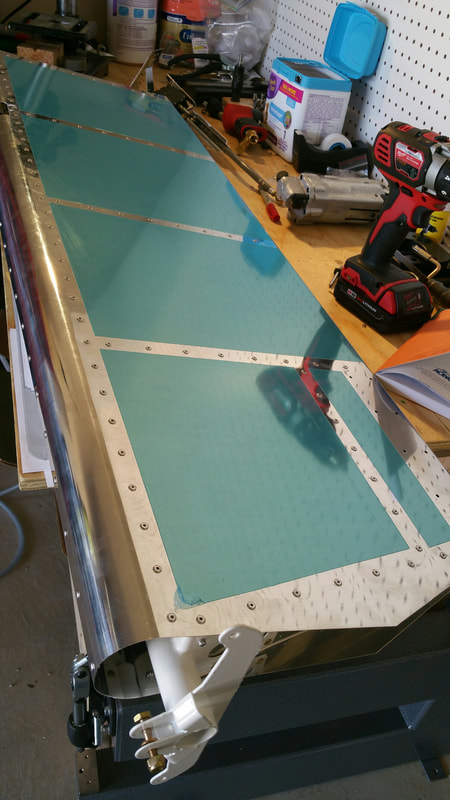
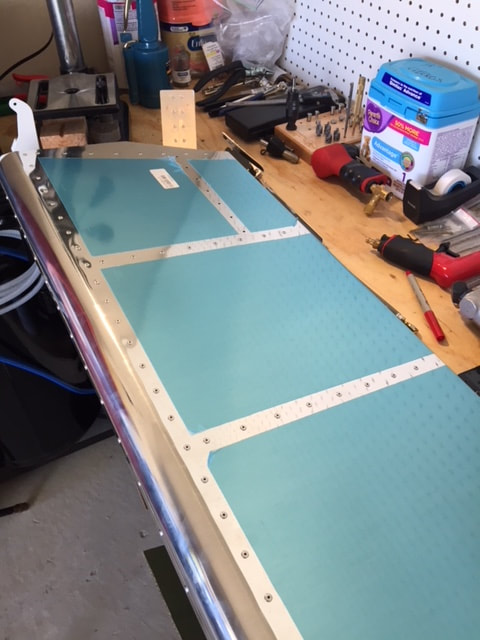
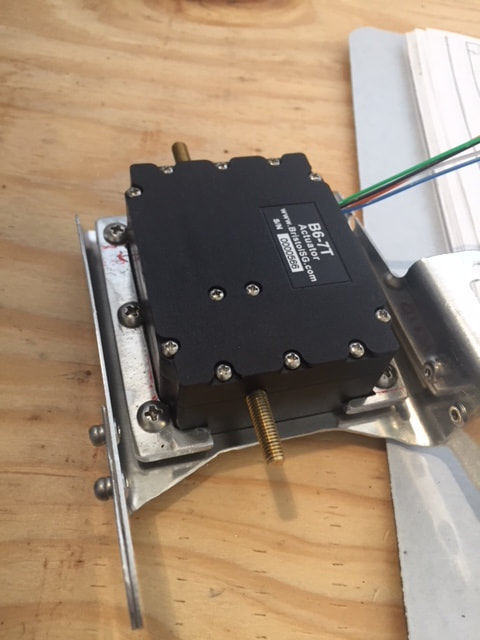
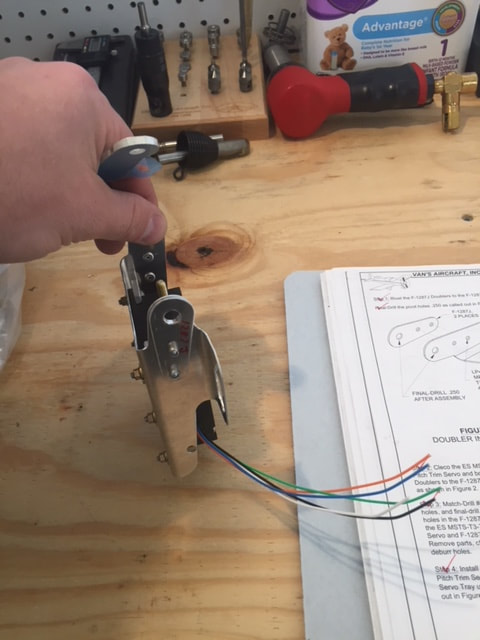
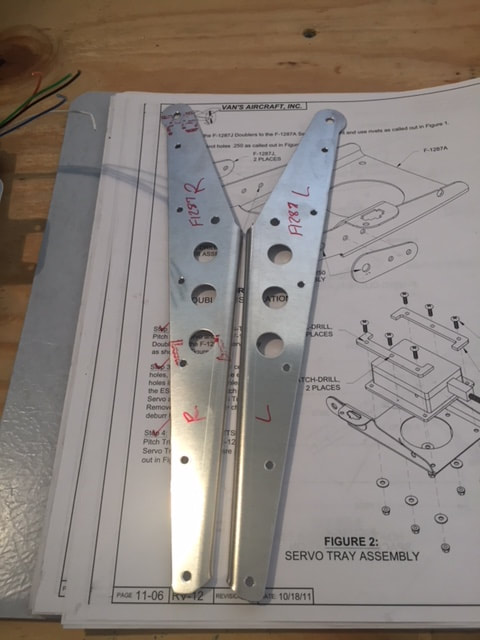
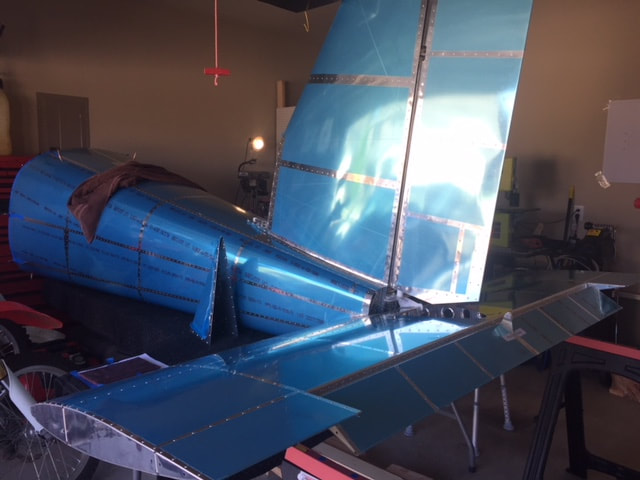
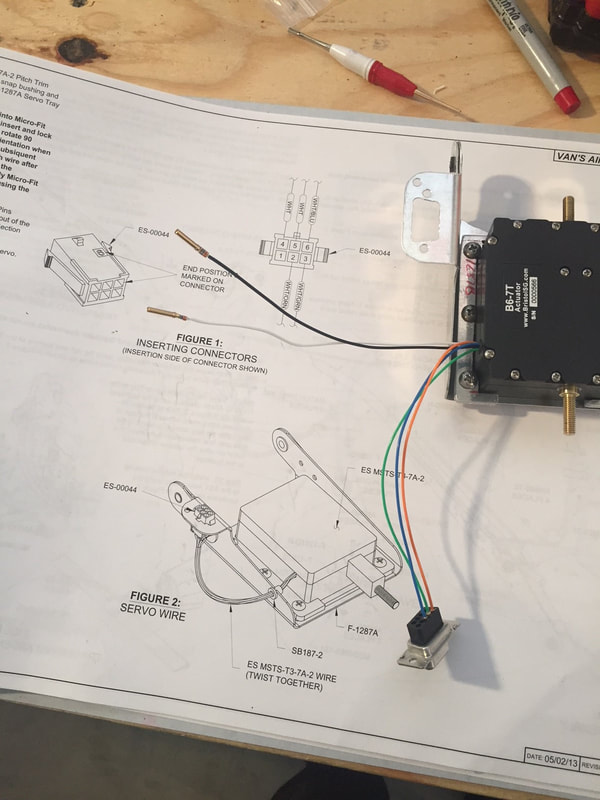
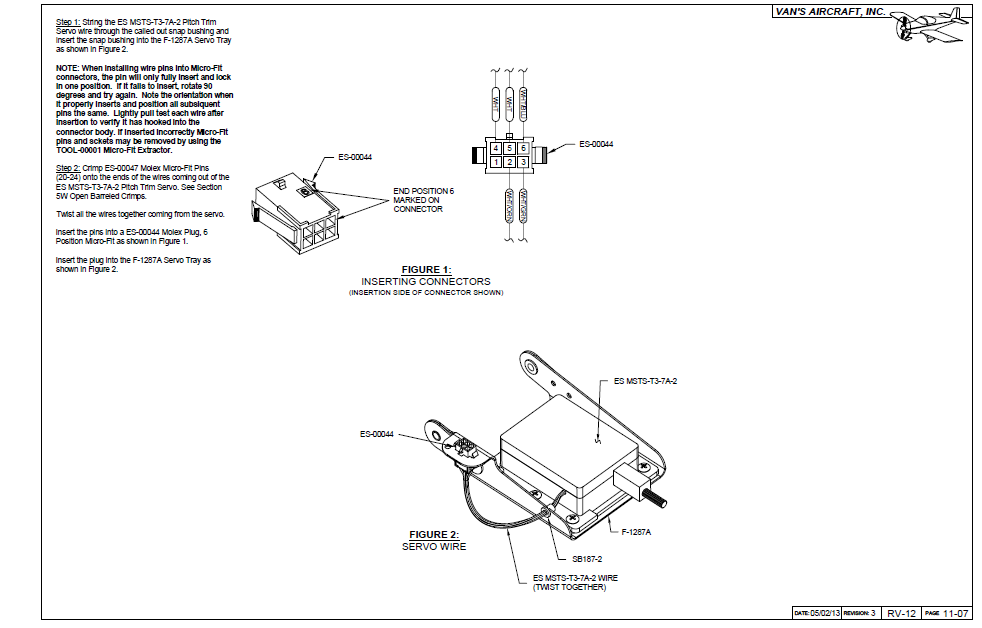
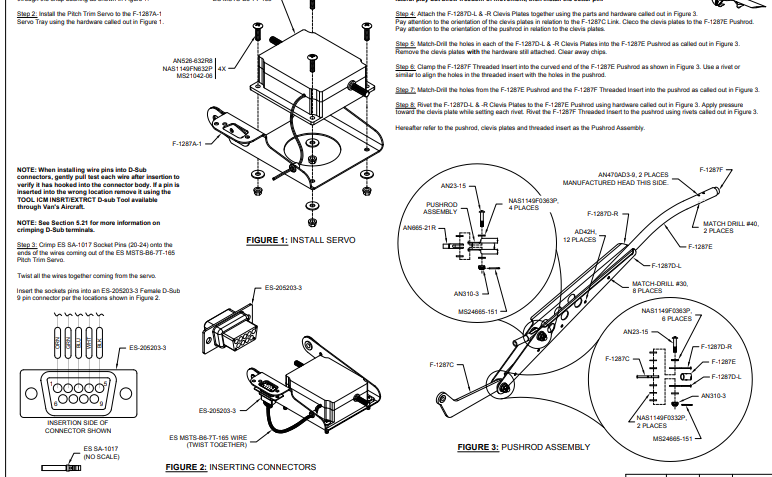
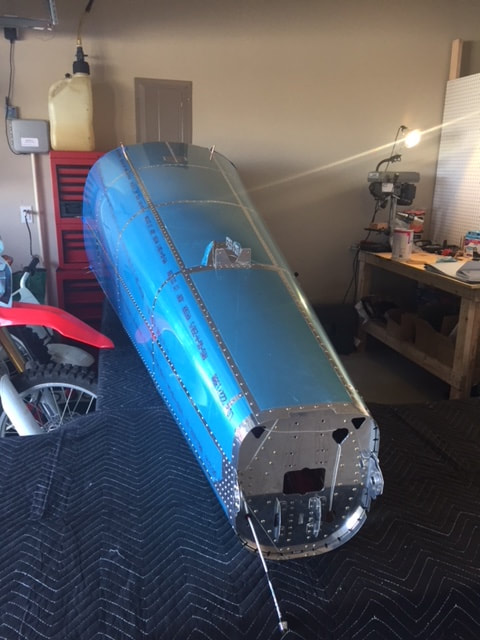
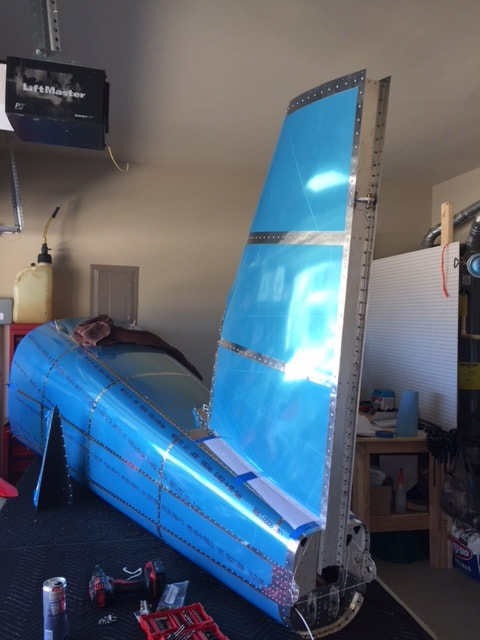
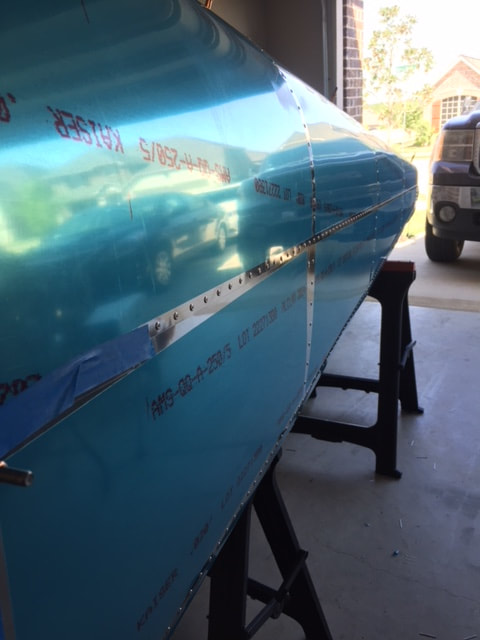
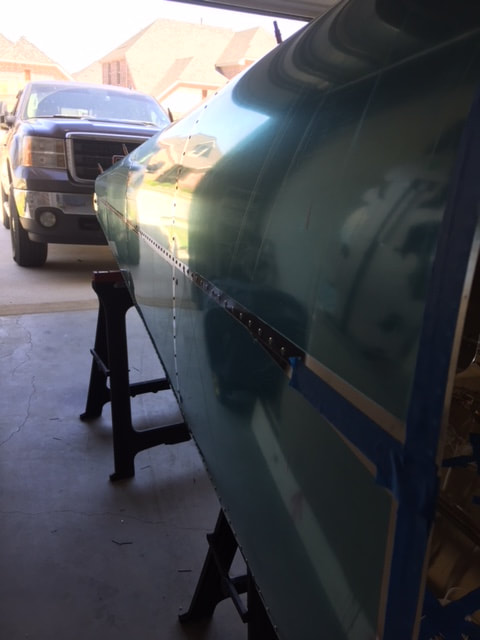
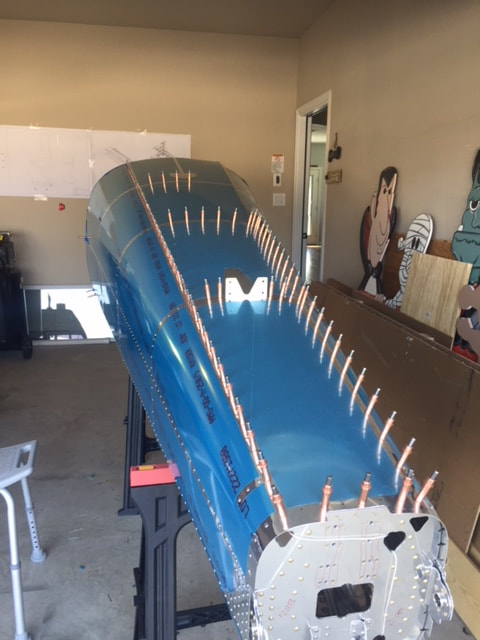
Section 12 Complete.. For Now4/27/2018 Starting Tuesday Mr. Carl Orton, EAA Tech Counselor came out to inspect my work thus far on the Empennage as I am just about done. What a pleasure it was to have Mr. Orton here sharing his years of experience, knowledge and some personal stories. I will have to get a picture next time. Thank you very much Carl! I definitely didn't feel cheated on the inspection as he crawled all around the empennage checking her out, very thorough! There were a couple recommendations that were pointed out with the first being edge deburring on the skins. It was obvious, even to me when we started looking at some of the edges of the tailcone skin that my deburring wasn't enough or not at all. Looks like I may have missed one of the sides on the very top skin when deburring/edge breaking the skins prior to assembly. Mr. Orton also noticed the few spots where the skin was deformed due to that stupid edge break tool, gheesh I hate that thing! The second recommendation was the safety wire that holds the piano hinges in place on the AST's, we couldn't tell if it was stainless steel or not. I will be ordering a new batch of safety wire as I had to throw the case away on the wire that I had bc it was cracked. Its inexpensive insurance so i'll pay all day for that peace of mind. After a few hours of inspecting and swapping stories I look forward to having Mr. Orton back out once I finish up the fuselage and wings. Yesterday I spent a few hours starting and finishing up section 12 to the point that I could until the finish kit arrives. All that meant is I spent a lot time grinding, sanding, fitting, sanding again, itching and fitting the fiberglass VS and Rudder fairings. The stabilator came off and went back upstairs in the house where it will stay until final assembly hopefully not too long from now. With the VS and Rudder finished they will soon be off too and joining the HS upstairs then find somewhere to store the tailcone to make room for the fuselage section. It may be a few weeks before I post again due to waiting on ordering the fuselage. I will be back though. See ya soon! Please post a comment below, even just a simple "hi" if you follow along, I don't have a clue if anyone even reads these or not. Thanks Rudder Spar4/23/2018 Going through all the boxes under my workbench and I expectedly had a few left over parts to which I knew some were for the tailcone fairings and the rudder trim tab. What I didn't expect to find was a piece that looked like a small spar that started with an R (for Rudder). This had nothing to do with the trim tab and left me panicking for a bit as I reviewed the plans and the inventory sheets to find out what and where the heck this piece belonged. All the while praying I didn't miss a major step in the plans. As I work through each step in the plans I "check" off each step with a red marker once the step has been fully completed, so I was confident I didn't miss anything. A review of section 7 (rudder) both on paper and electronically a half dozen times showed I didn't miss anything so this left me puzzled and submitting a post on VAF. I was outside of the window of Vans Technical call hours so I impatiently kept checking VAF while continuing to scrutinize my work and the plans. Finally a VAF member who works for Vans responded stating that the part in fact did go in the rudder as there was a revision for section 7 dated for Jan 2018. Well that cant be right, I've searched through every latest revision on Vans website and there are no revisions for section 7 posted. So as it turns out this Spar goes inside the rudder right in front of where the trim tab mounts, which is why I probably didn't pay any attention to the 14 open holes as I thought they had something to do with the trim tab. Dammit, this meant I had to drill out one whole side of the rudder to insert this spar. Well mind as well get r done! Only took about an hour and half to complete, being careful not to screw up any holes in the skin of the rudder. The spar fit right into place and was riveted up. EAA Empennage/Tailcone inspection tomorrow! Empennage Attach Mockup4/19/2018 This is a bit frustrating, I just typed up a complete synopsis of this section and as I was closing out the website glitched and everything was gone! Weebly is simple to use but it has its issues, especially when trying to post and update, I will have to repost several times just to get the words to show up. Ok lets try this again. So section 11 has thrown me for the biggest loops thus far starting out with my last post when I claimed to not have the correct hardware. A review of the plans and my inventory sheets quickly revealed that I made a mistake on the horizontal Stabilator, the plans call out for 3-4 bolts on the front of the horns but 3-5 on the rear, well guess what I did. Yep, 3-4's on front and back, suddenly I had 4 extra 3-5s in my inventory box. A quick swap out of the bolts and a review of the plans to make sure I had everything else correct, to which delightedly I found no other hiccups. So on with section 11 of which the first dilemma I ran into was the trim servo motor attach brackets which do not fit around the servo motor, 1st picture. The brackets had to be cut down significantly and the plans do not mention anything about the brackets needing to be trimmed. Another issue was the middle screw hole that has to be match drilled from the bracket. Well the hole is so close to the servo motor that the screw will not fit due to the head on the screw. If that isn't enough the outer two holes that are already drilled do not line up with the brackets, so more trimming on the back side of the brackets had to be done to get the holes to line up. Talk about stressful! Once I got the brackets all trimmed up on the bandsaw I had to file down the screw heads on one side so they would fit next to the servo motor and Viola! On the next page the issues get even more complicated as the plans show a rectangular housing for the wiring, well the kit comes with a D housing and the wiring order is completely different. I emailed Vans and submitted a post on VAF for some clarification. A VAF member responded first with a link to a revision for section 11 on Vans website. Whoda thunk it, I was never aware Vans had revisions on their website after all the times I've been there. Well that cleared up all that mess, i posted snips of both plans below so you can see the difference in the housing brackets and wiring order. So the only thing left now before it all comes apart again is to complete the fiberglass VS and Rudder fairings on top. Looking forward to ordering the fuselage soon! More updates to come later Tailcone Complete4/15/2018 I went back to look at my last few posts and realized I was missing a lot of build pictures and took me a bit to figure out what happened. Then I remembered when I was doing the routing of the static lines and AST servo cable I attempted something new by trying to video it using my gopro. Little did I know about 30 mins in the gopro died and of the very little footage I do have I don't know how to edit it which may be something I explore more when I move onto the next kit. The good news is the tailcone is complete, it took a while to rivet this thing up, but 3 days of on and off and I finally finished it. Overall i'm satisfied with the way it turned out. There are a few spots, especially in the top skin where the edge break tool jumped onto the skin mangling it and after lots and lots of trying to save the skin it came out ok in my book. There are a couple spots where there is a slight budge at the skin joint but overall not too bad. I attempted to move onto section 11 which is assembling the empennage and into the first page it looks like Vans doesn't supply the hardware to do this as I am completely out of the 3-4 bolts which are called upon to attach the vertical stabilizer to the tailcone on the forward side. So it looks like for now the project is on hold for the most part until I can order the fuselage kit. I can still do the fiberglass fairings on the VS and rudder and cut and finish the remaining parts for the servo motor. The build time log is up to date as for this post and based on Vans estimation of 800 hours I feel I am on schedule. See yall soon with updates and when the fuselage kit will be ordered. BTW I know the wing kit is listed next but I am going to roll ahead and do the wings last to save space for working around the fuselage/empennage sections. Still at it4/13/2018 So its been slow and steady, lesser on the steady side as I've been traveling for work all week. The tailcone is about 1/4 of the way riveted up and I plan to make much progress this weekend and hopefully finish riveting this thing up. Updates to come early next week. 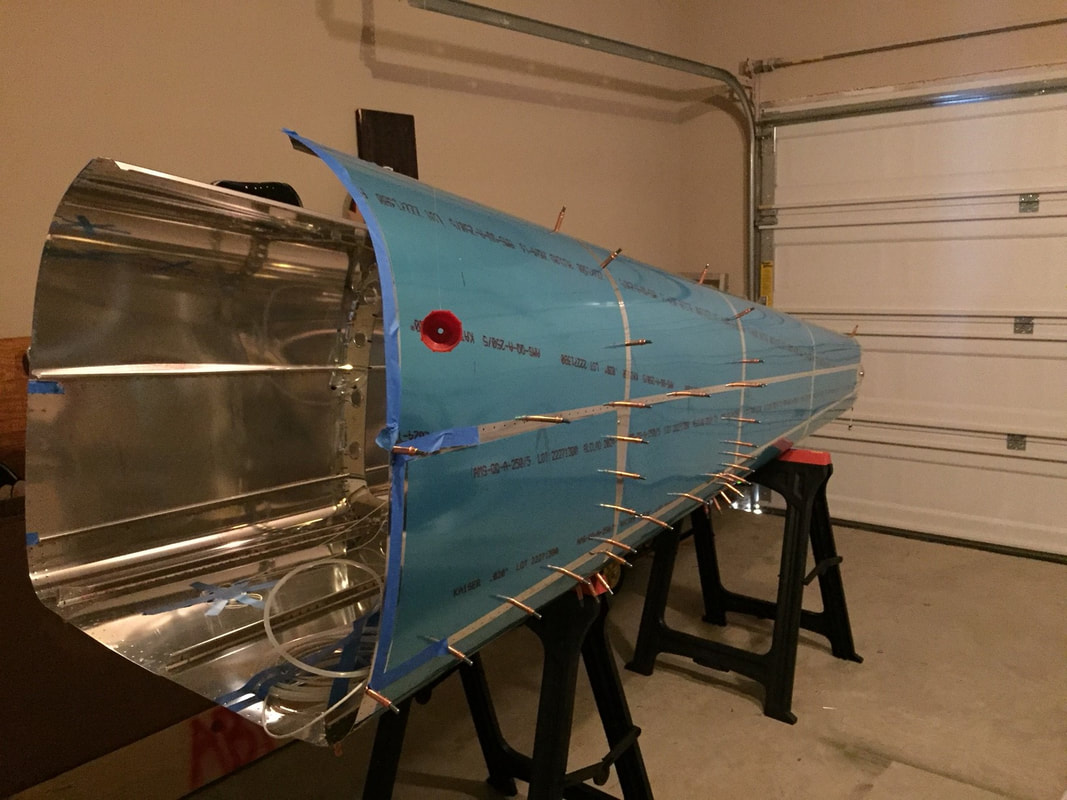 Archives
January 2019
Empennage Total Build Hours: 82.24
Inventory: 1.45 Vertical Stabilizer: 13.26 Rudder: 7.5 Anti-Servo Tabs: 4:30 Stabilator: 24.11 Tailcone: 30.42 |

 RSS Feed
